園児メルちゃんのお出ましです。
メルちゃん幼稚園のお友達と仲良くできてるかな?
下に着せているのはカッターシャツです。
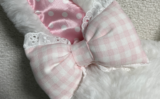
リボンはレース付きのものを付けています。
余談ですが、サスペンダースカートと名称を悩んだ結果吊りスカートにしました。
コンテンツ
型紙
スカート
型紙ダウンロードフォームはこちら
肩紐
30cm x 6cm を2枚(縫い代込み)
ウエスト紐
54cm x 6cm(縫い代込み)
肩紐の作成
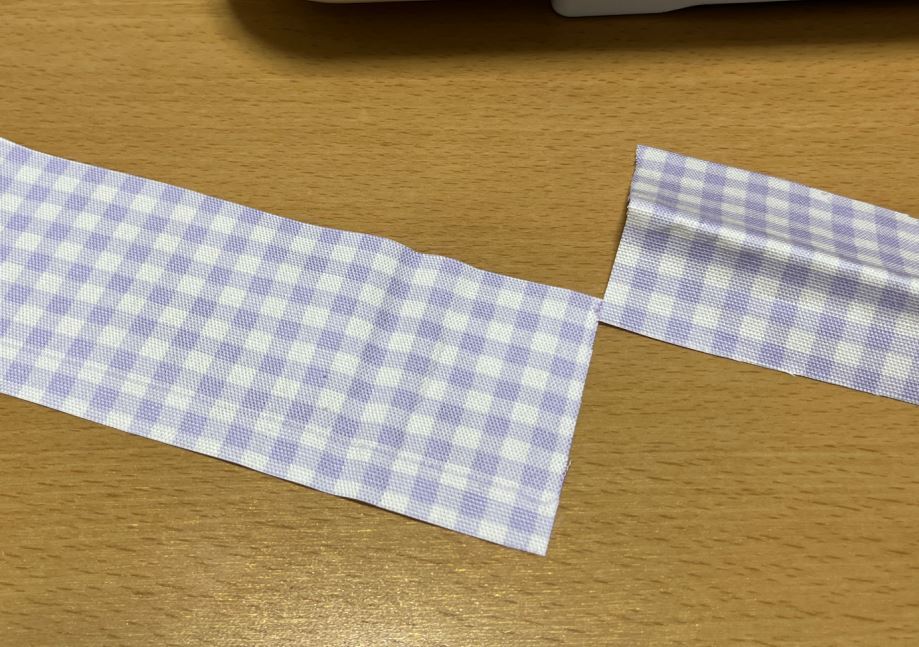
肩紐を作ります。
両端を1cmで折り返して5mmでミシンを掛けます。
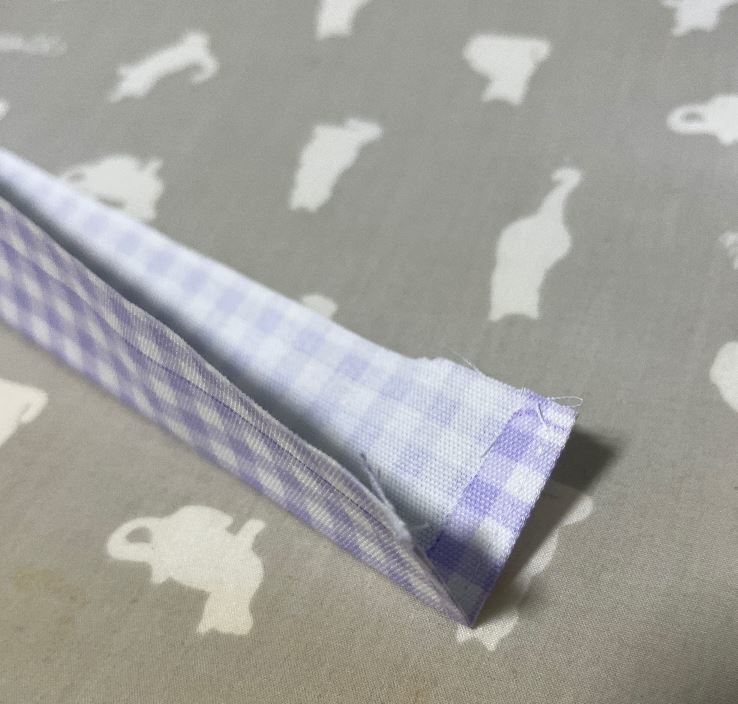
アイロンで半分に折り目を付けます。
先程の折り目に合わせるように三つ折りにして…
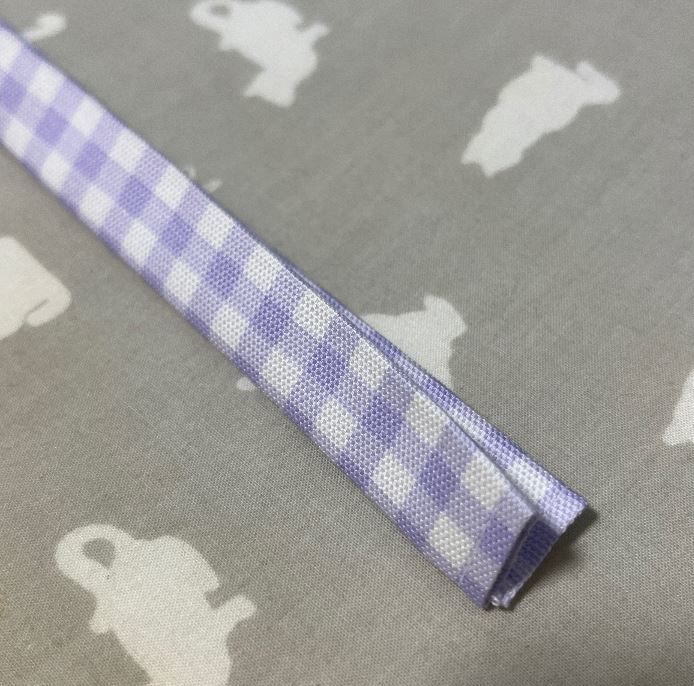
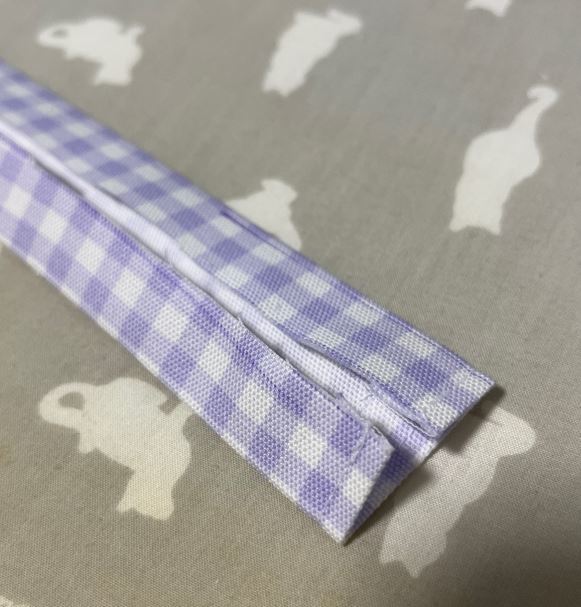
最後に半分に折りたたんでアイロンでしっかりと折り目を付けます。
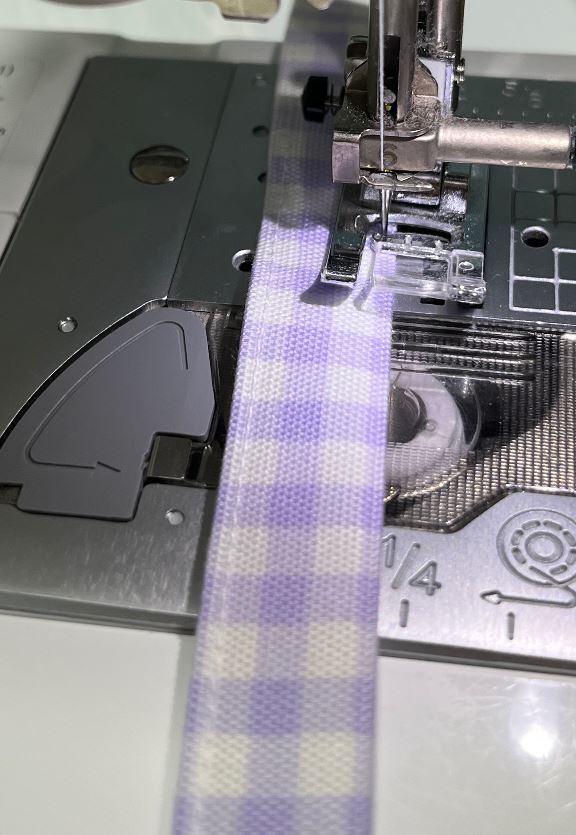
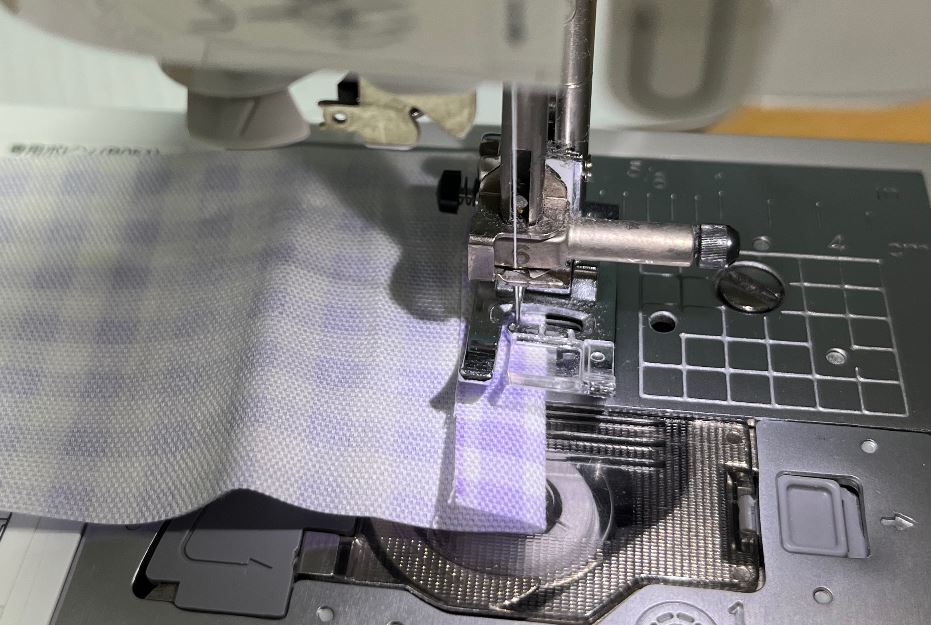
肩紐の両端ギリギリにミシンを掛けます。
折りたたまれてない方はしなくてもいいですが、片方だけだとなーんかバランスが悪いので私は両方にミシンをしました。
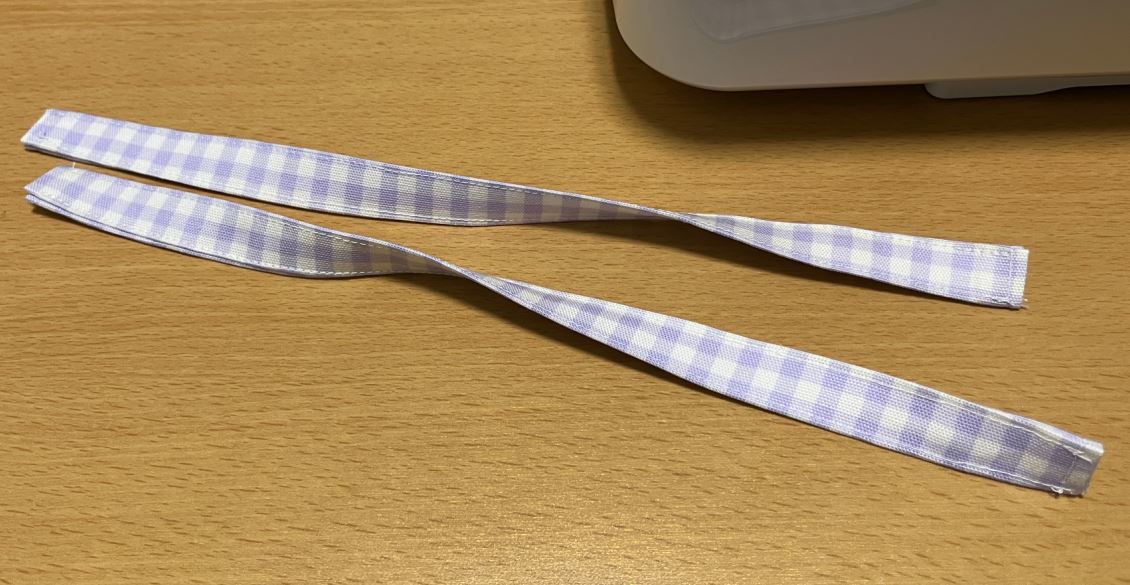
肩紐が完成しました。
スカートを作る
レースを縫い付ける
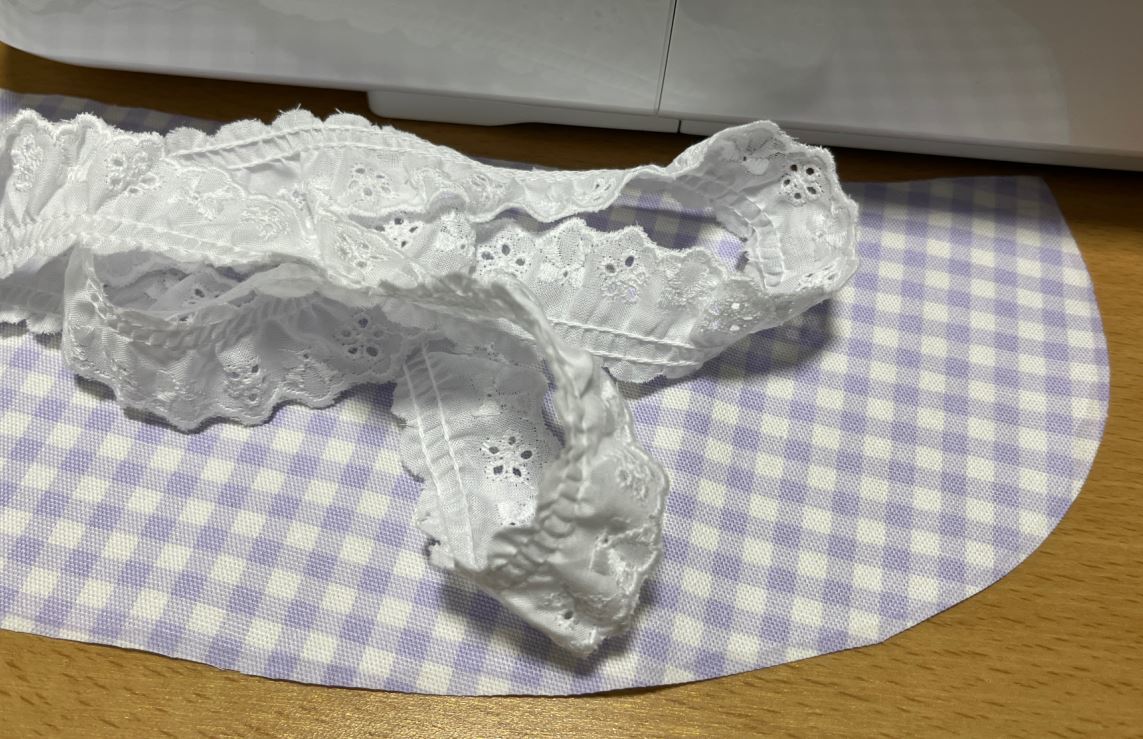
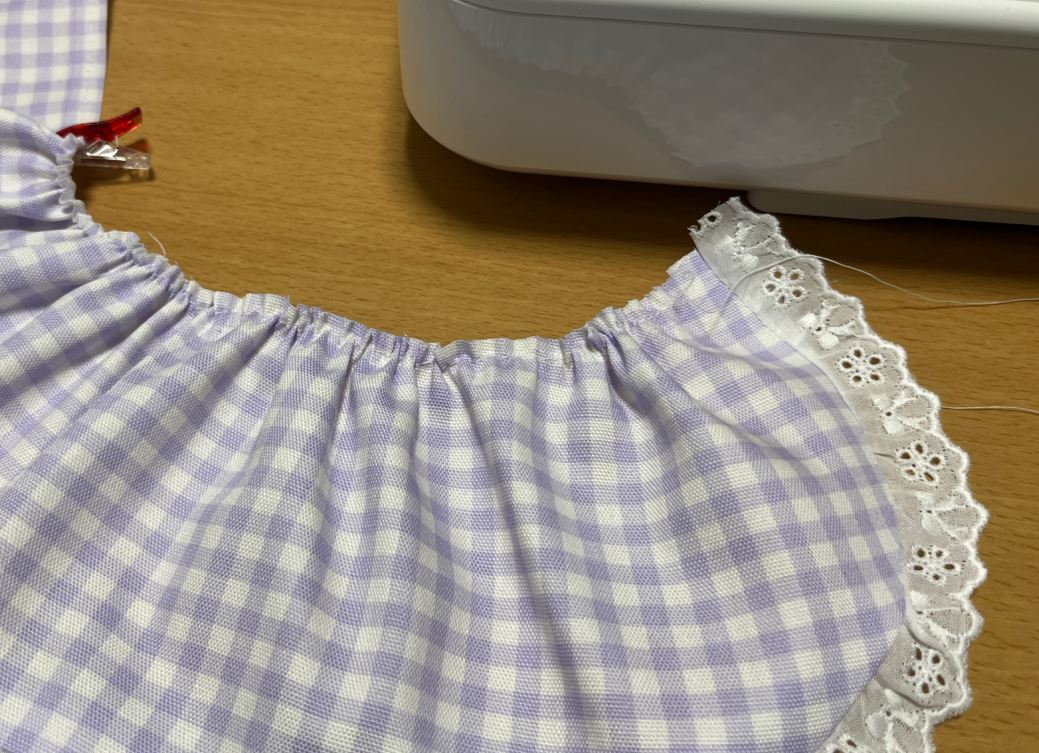
スカートを作ります。
スカートすそと同じ長さ+αのレースを用意します。

スカートとレースを中表にして1cmで縫い合わせます。

終わったらアイロンをしておきます。
ギャザーを寄せる
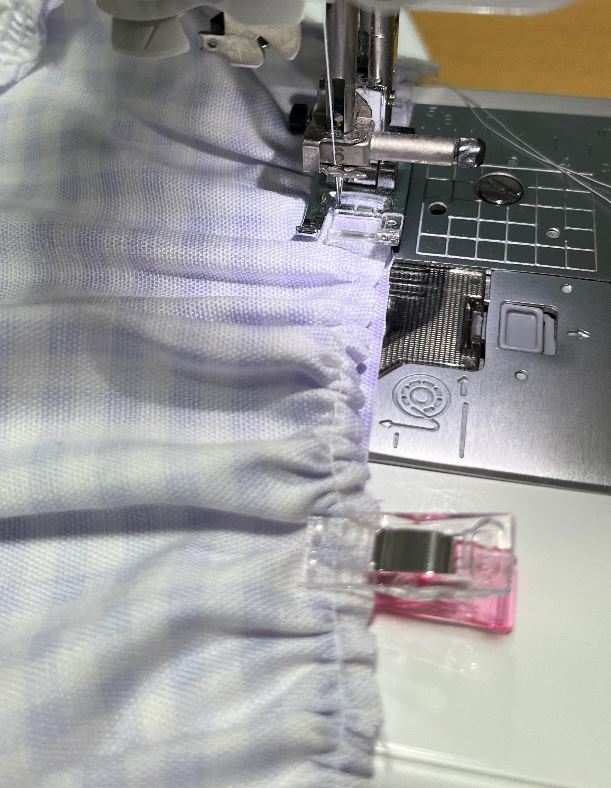
スカートにギャザーを寄せます。
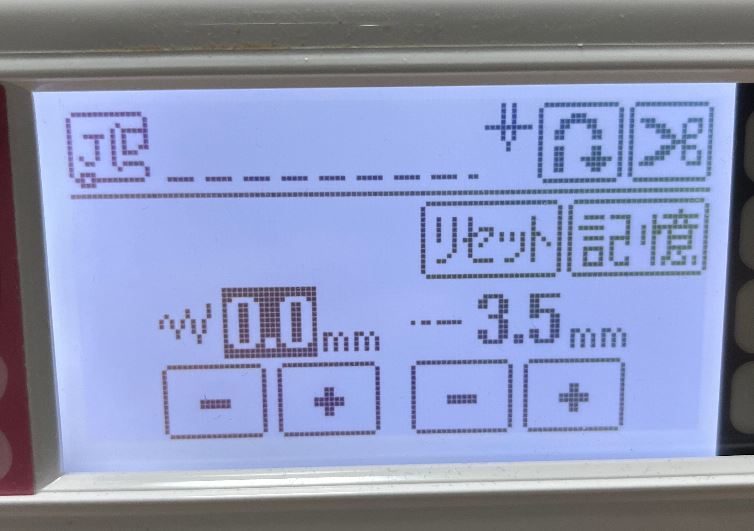
ミシンのあらさを+1mmにします。
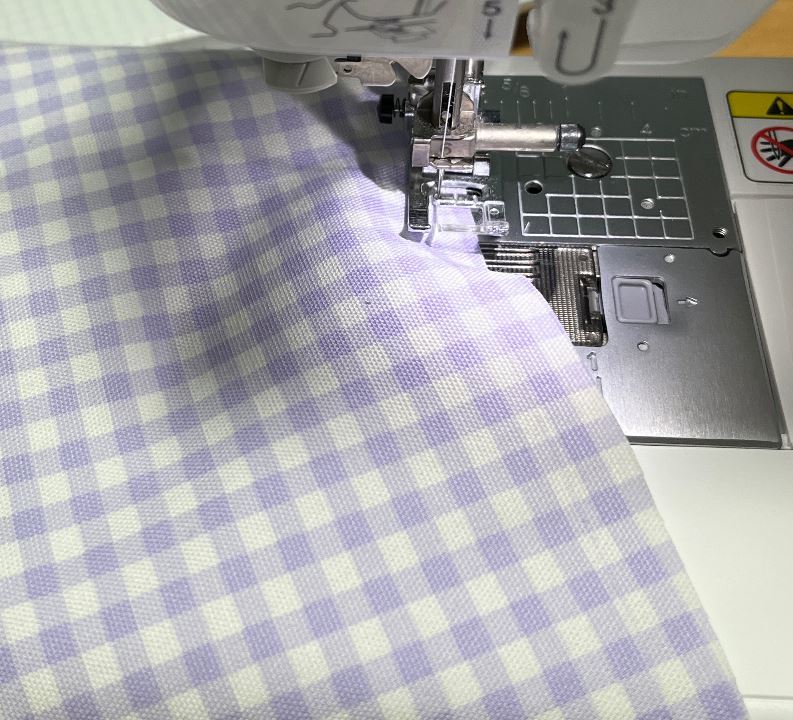
両端の糸を10cm程度残して、ウエスト部分の端から5mmの位置にミシンを掛けます。
下糸を引っ張るとこのようにギャザーになります。
ベルトを作る

続いてベルトを作ります。
肩紐と同じく、両端を1cmで折り返して5mmでミシンを掛けます。
ベルトとスカートを縫い合わせる

スカートとベルトを中表にしてクリップで留めます。
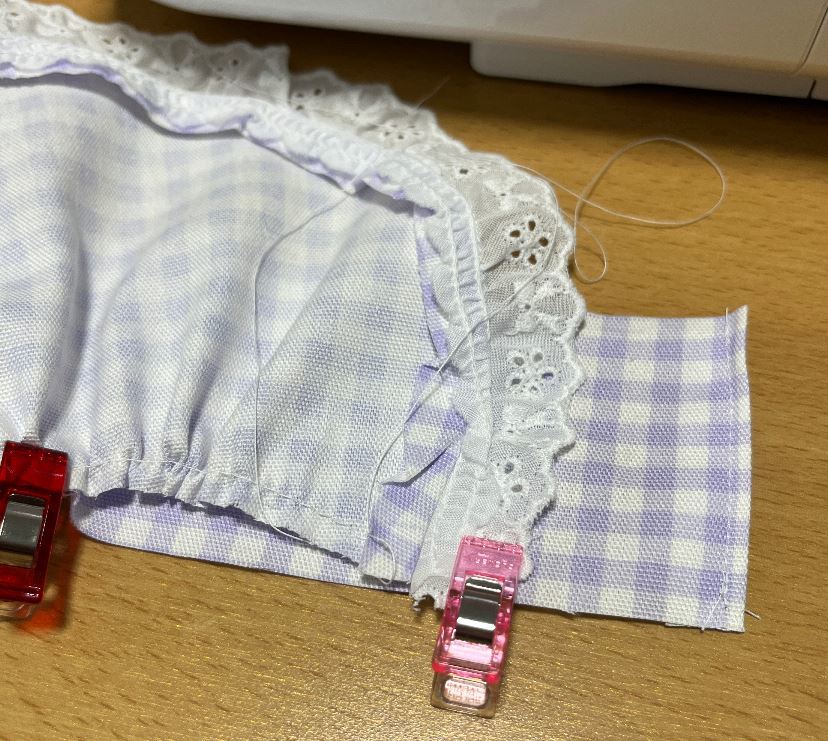
両端ですが、写真のように3cm程度余らせておきます。
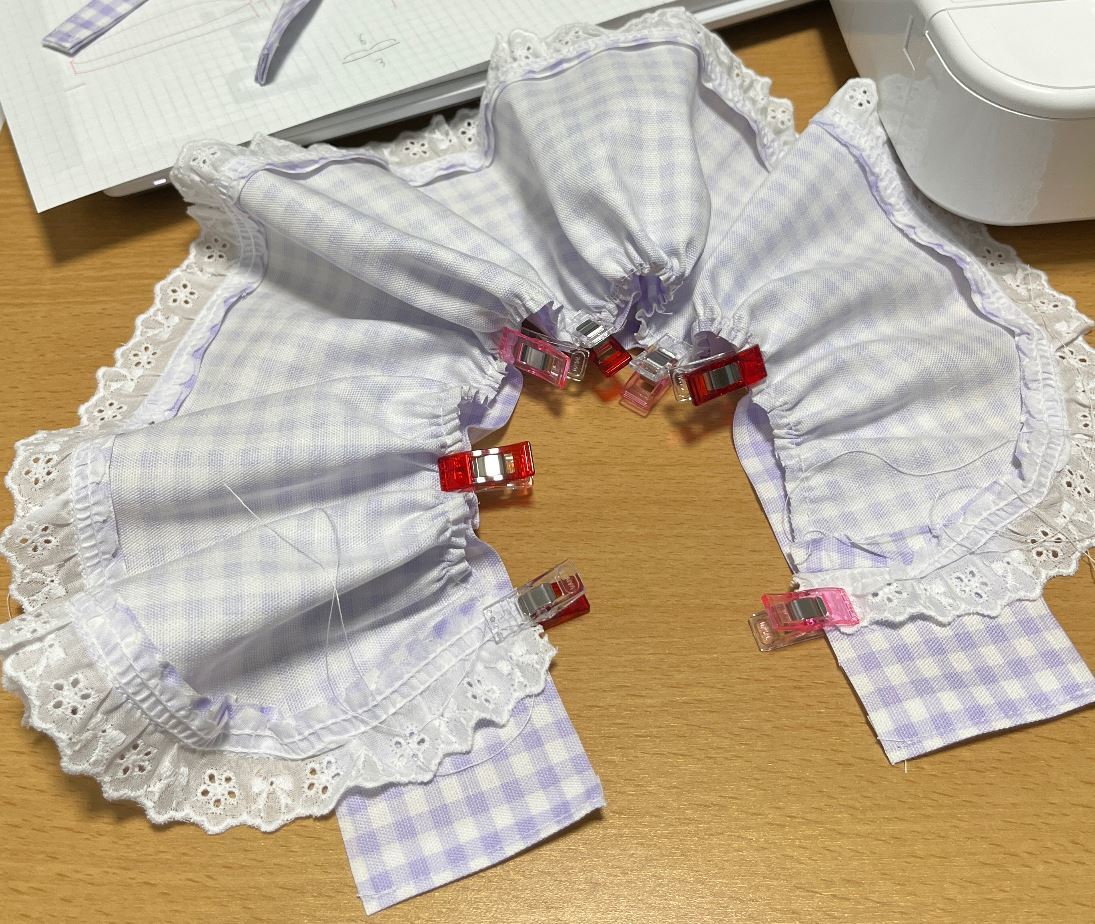
全体図です。
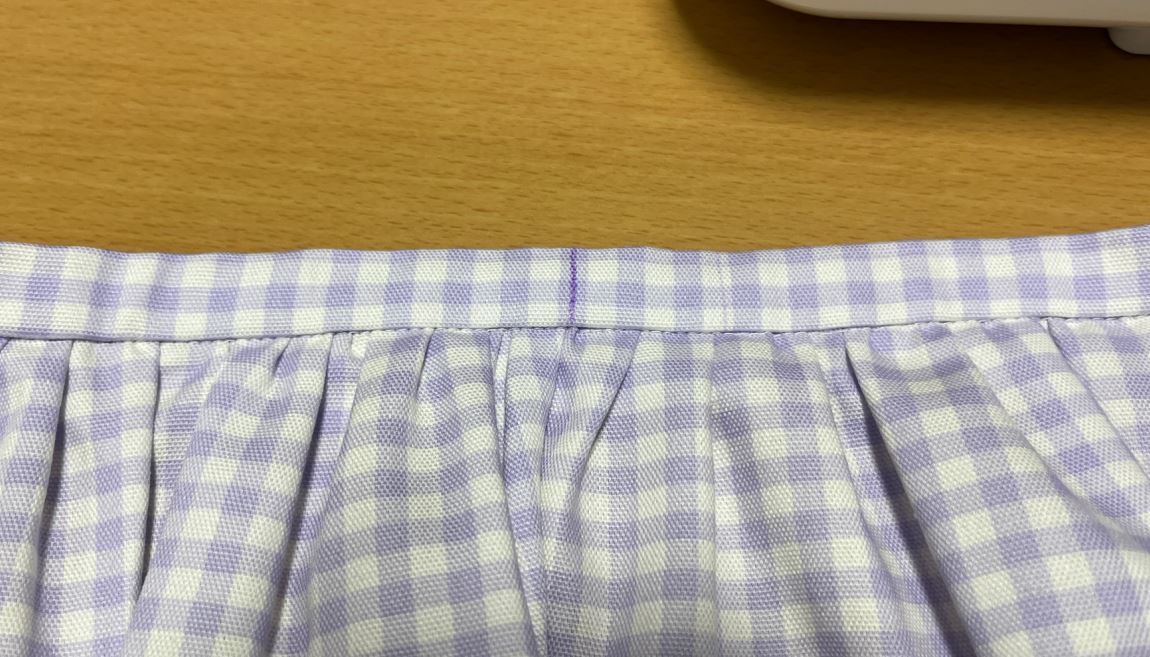
ギャザー部分の上から、縫い代1cmでミシンを掛けます。
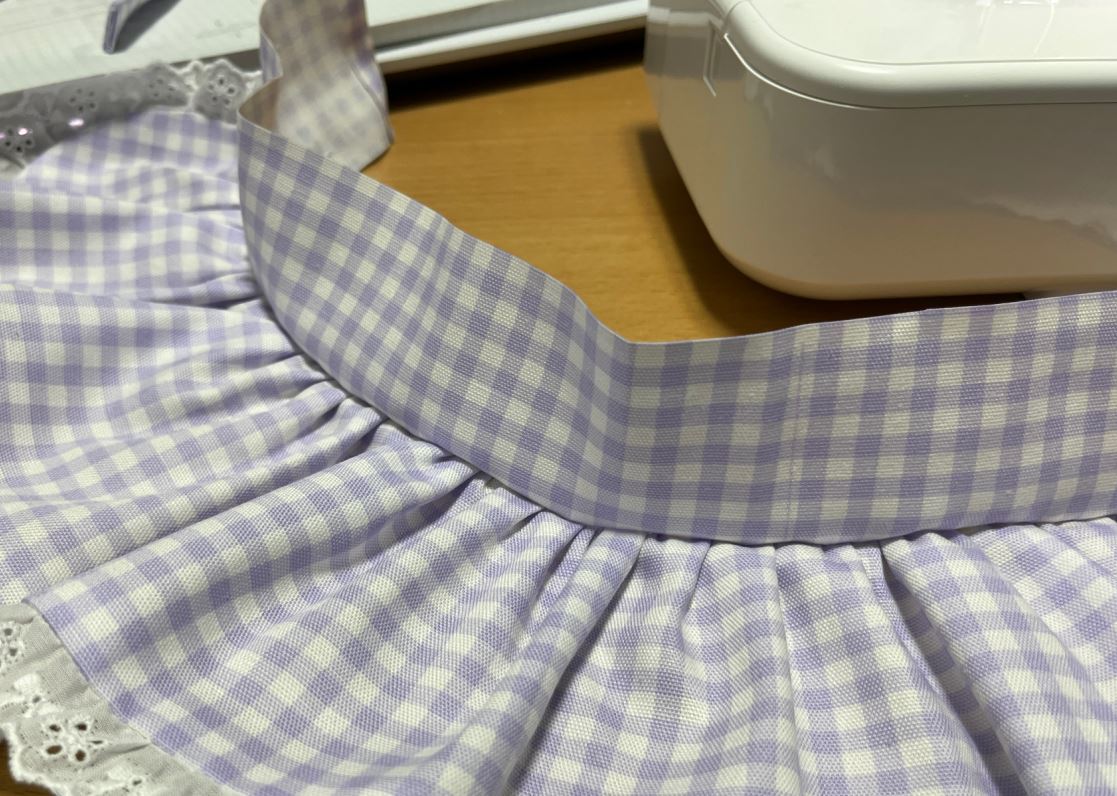
縫い終わるとこうなります。

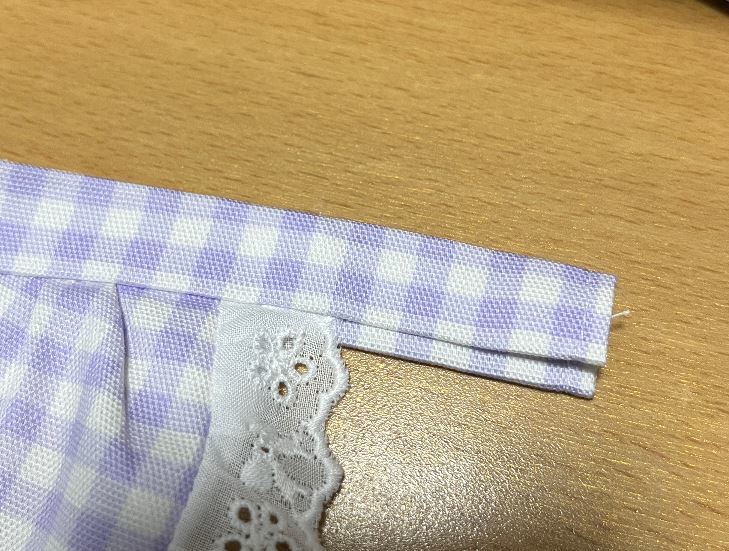
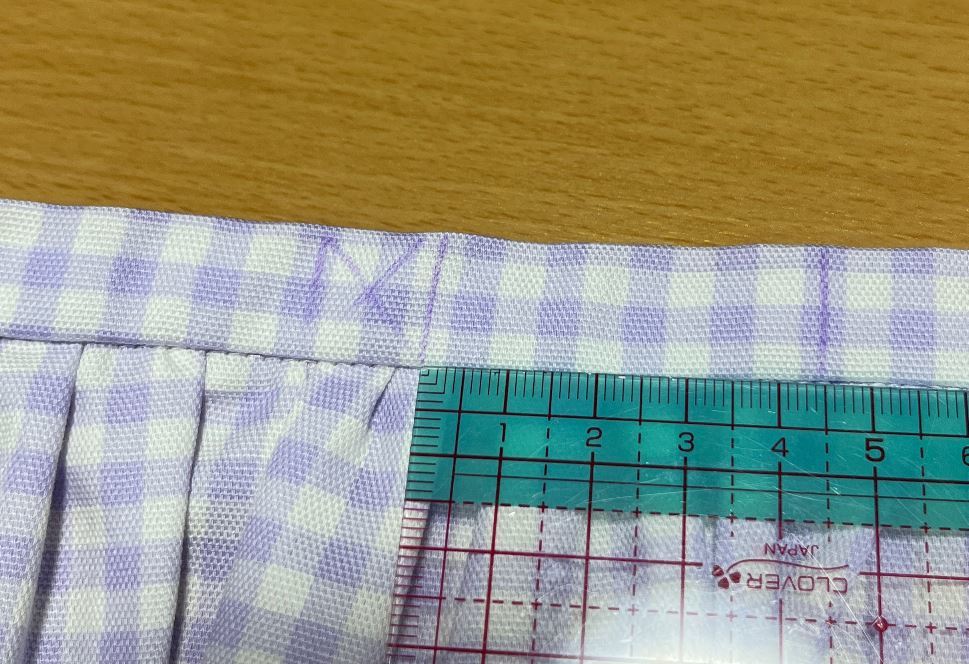
縫い目から1.5cmの位置にチャコペンで印を付けます。
アイロンで先程の印に沿って折り目を付けておきます。
ウエスト紐が1.5cmになるイメージです。
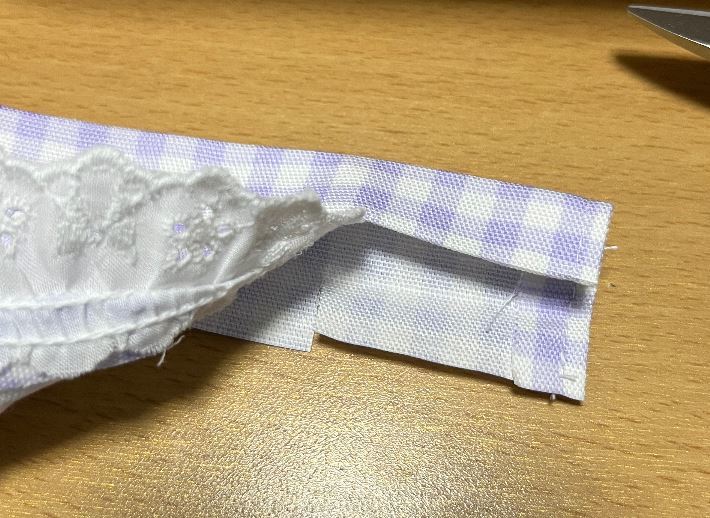
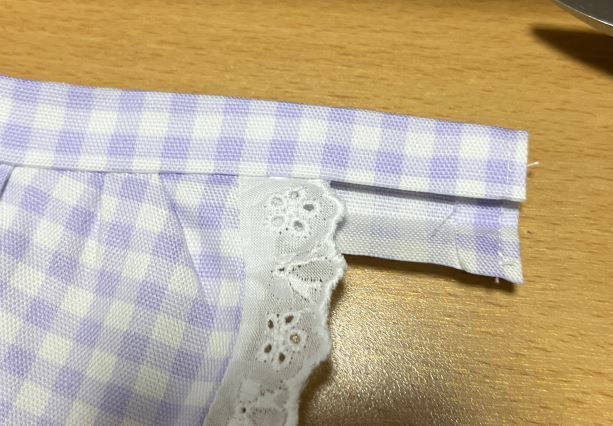
端の処理ですが、写真の位置に1.5cm程度切り込みを入れてから…
余った部分を内側に折りたたみます。
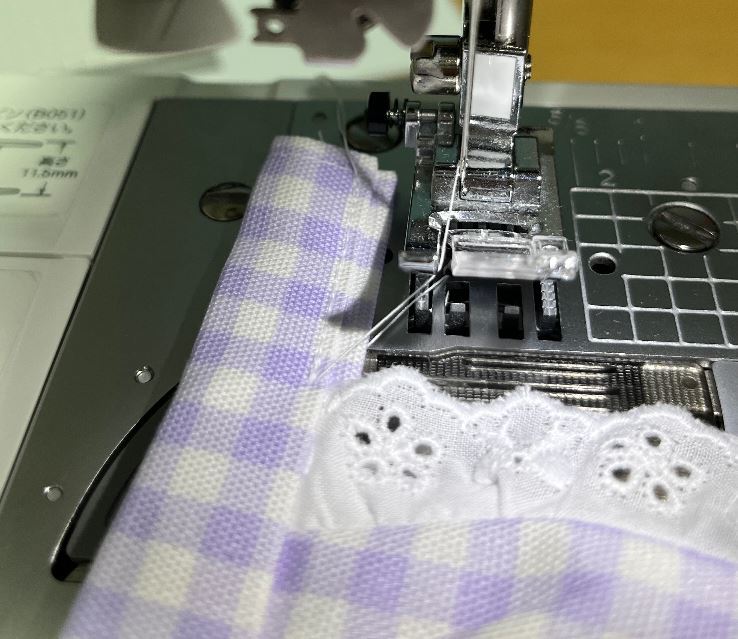
余った部分だけ上からミシンをしておきます。
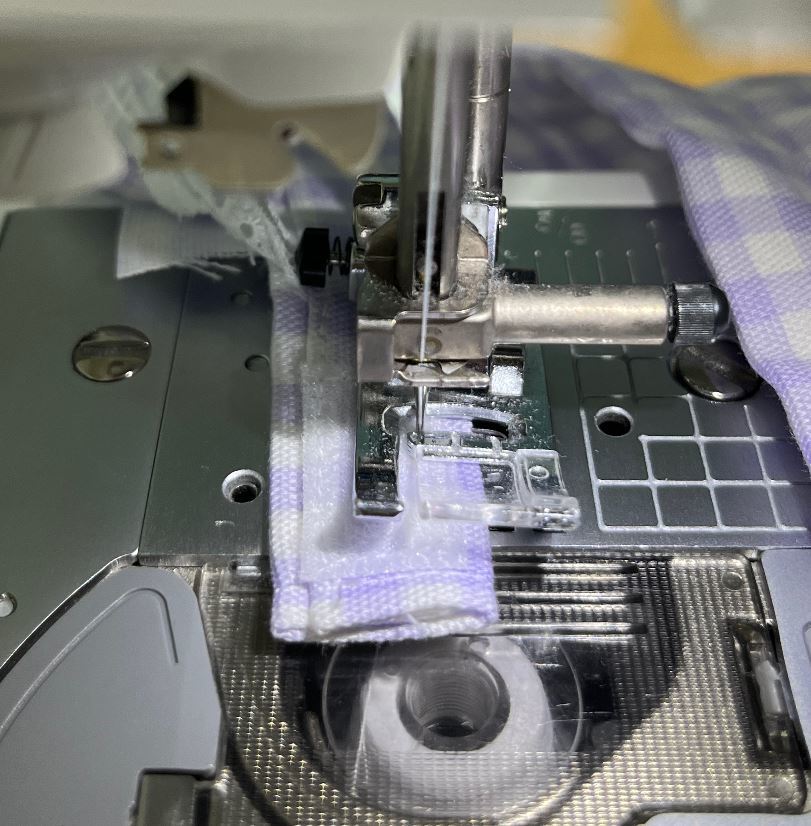
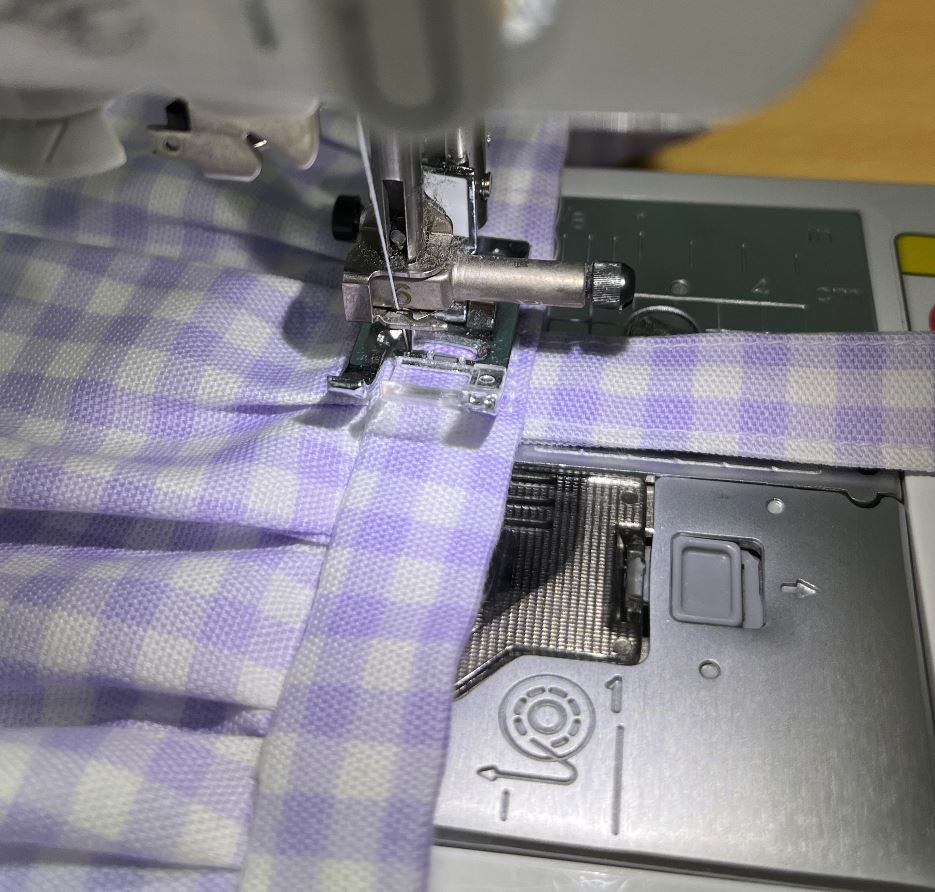
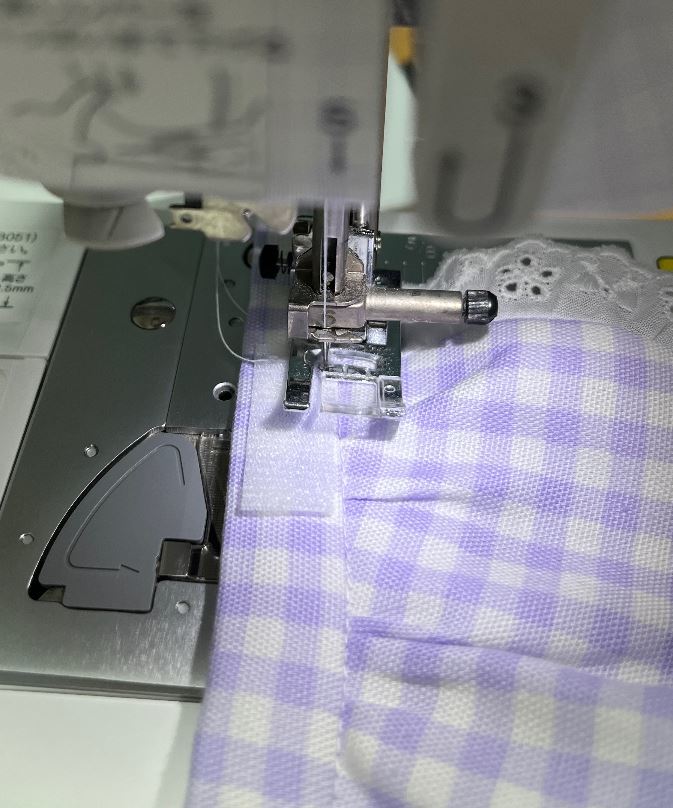
続いて、ウエスト紐とスカートの間ギリギリの位置にミシンを掛けます。
こうすることでウエスト紐を固定します。
ベルトにマジックテープを付ける
終わったらベルト両端にマジックテープを縫い付けます。
まあ、後ろなので多少ミスっても大丈夫です。
肩紐を縫い付ける
肩紐を縫い付けます。
まず、ウエスト紐の中央にチャコペンで印を付けます。
その左右4.5cmの位置にチャコペンで印を付けます。
写真のように、バツの箇所に肩紐を縫い付けるイメージです。
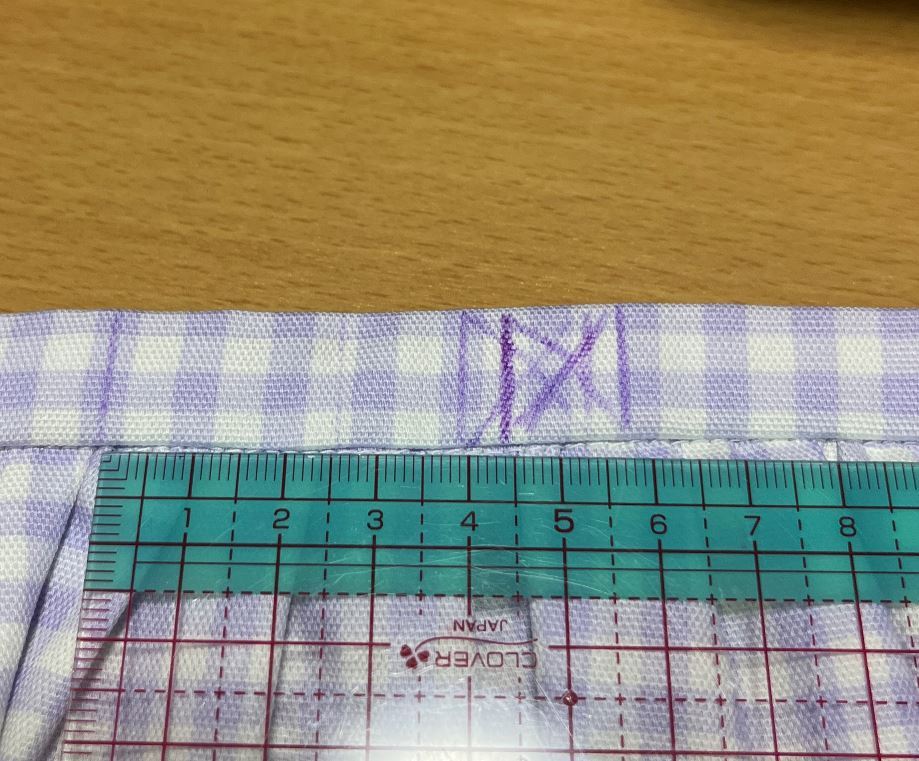
4.5cmは私の好みですので、皆さんのお好きなように調整して下さい。
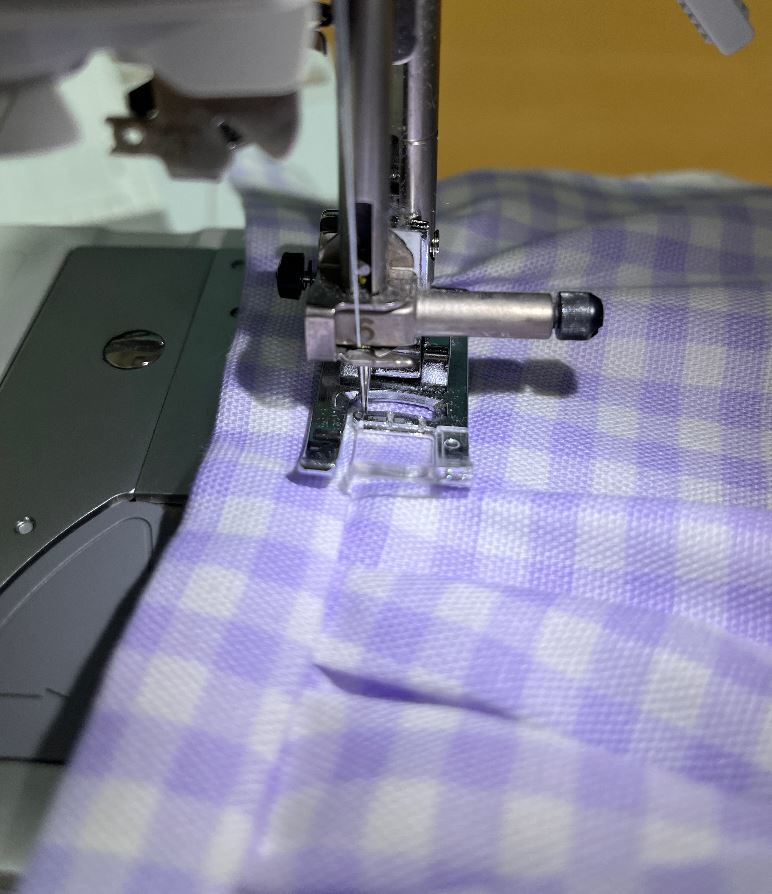
肩紐がしっかり1.5cm隠れるように配置してから、上からミシンを掛けます。
布が厚いのでゆっくりミシンをしないと針が折れる…かもしれません。
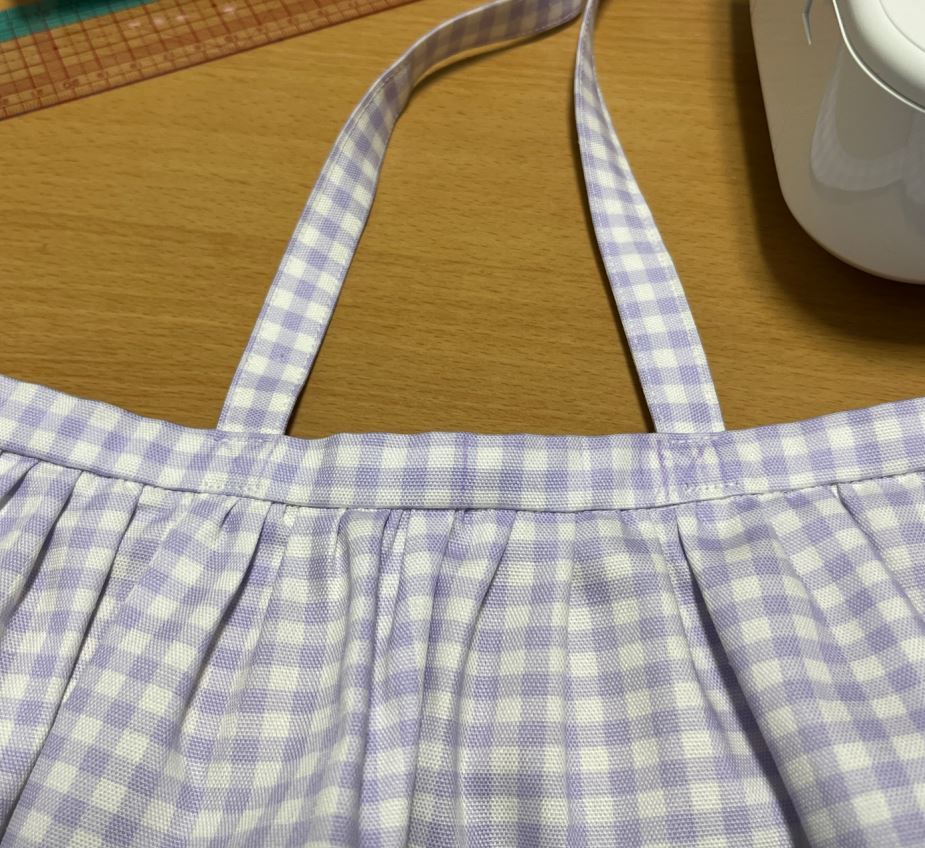
肩紐が付きました。
肩紐にマジックテープを付ける
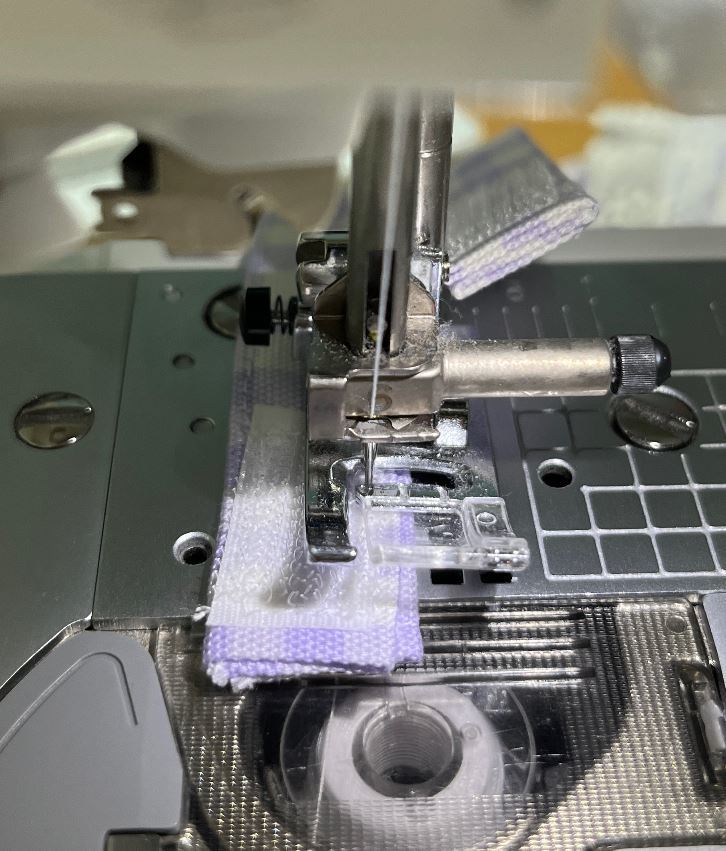
肩紐の先端にマジックテープ(オス)を取り付けておきます。
マジックテープ(メス)のほうですが、まずメルに着せてみてから位置を調整して縫い付けます。
下に着せる服の厚さによって変化するので本ブログでどこから何cm、のような指定はしません。
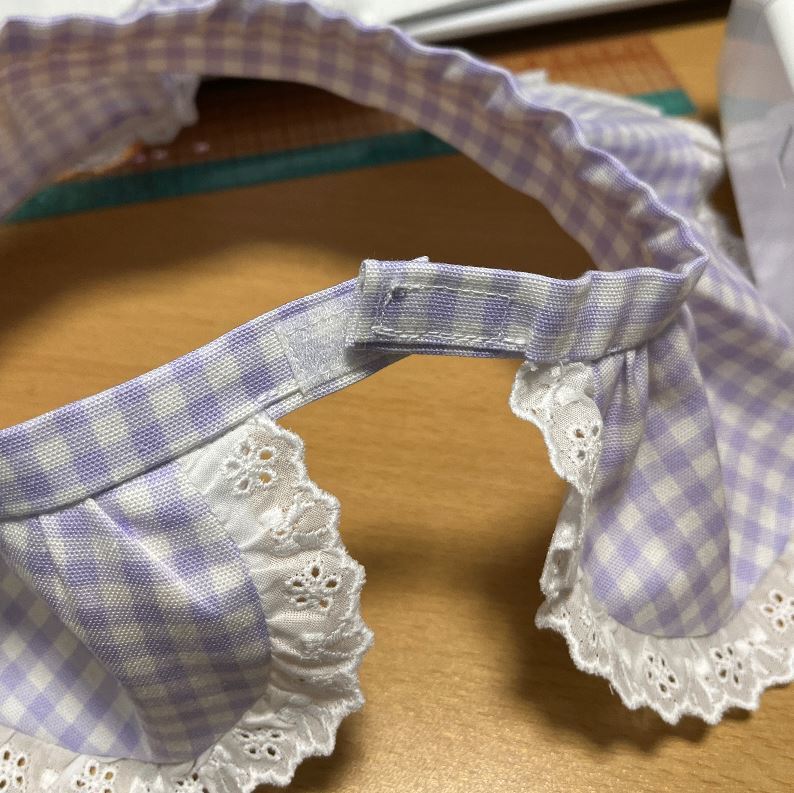
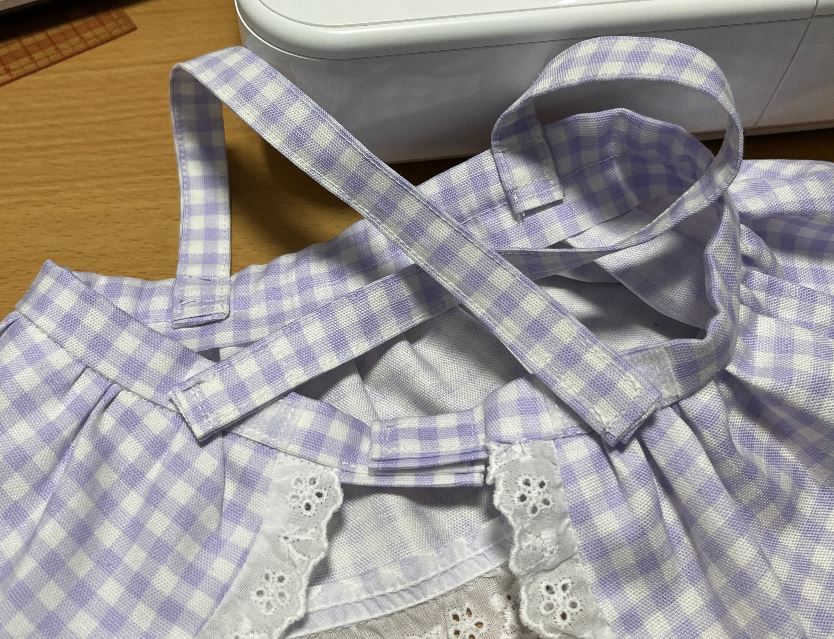
肩紐ですが、後ろは写真のようにクロスさせる形式です。
位置取りをしてからマジックテープ(メス)を取り付けます。
マジックテープは長さ調節ができるように、長めに縫い付けておくと安心です。
もう少しで完成です。
装飾する
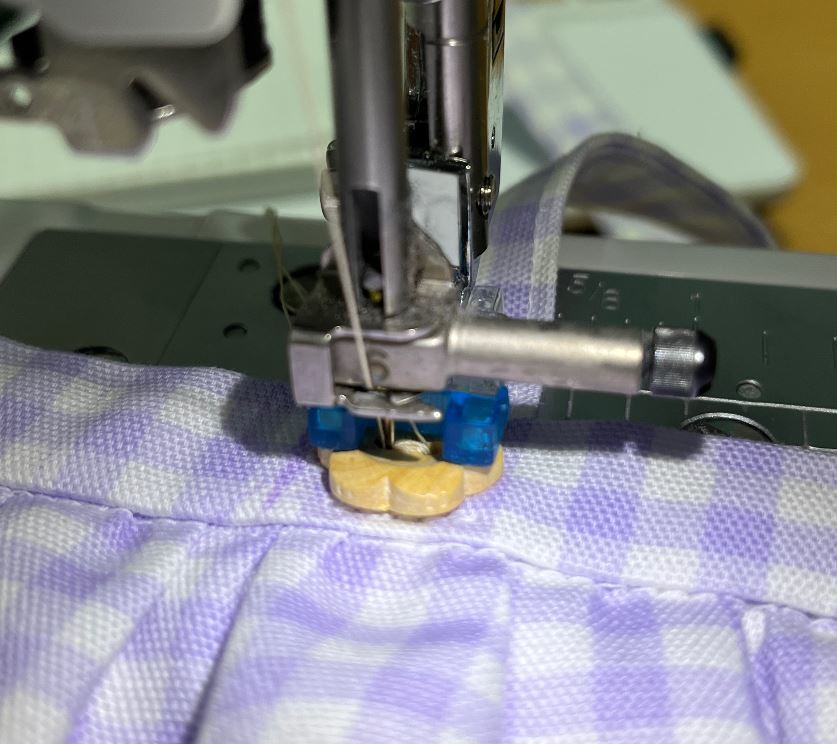
肩紐の付け根にボタンを付けておきます。
これは好みですのでなくてもOKです。
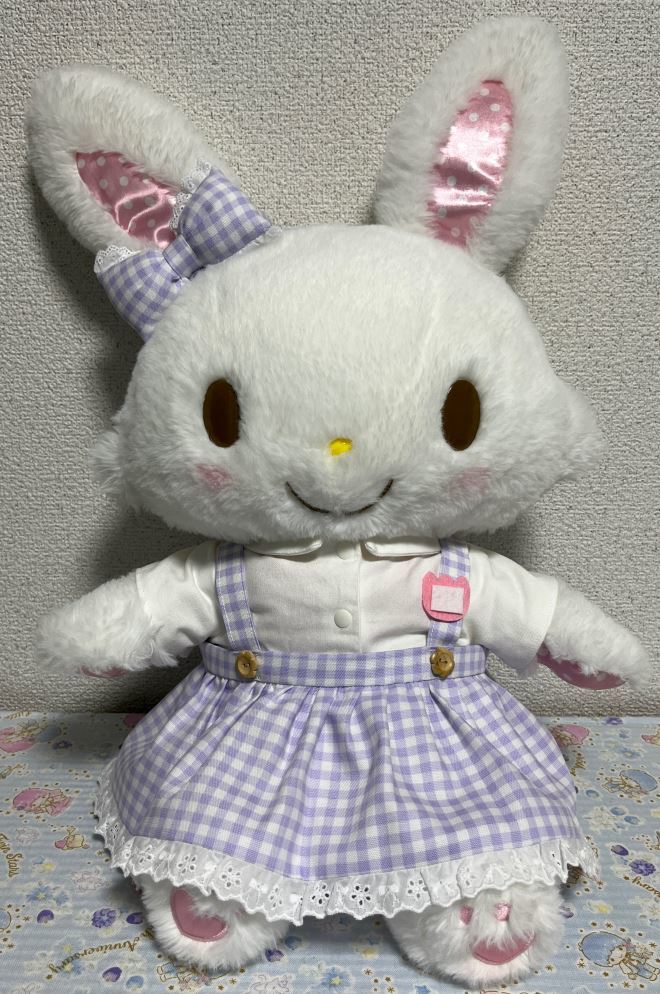
完成!!

完成です。
Twitterのお友達から「幼くて可愛い~」と言われて嬉しかったです。
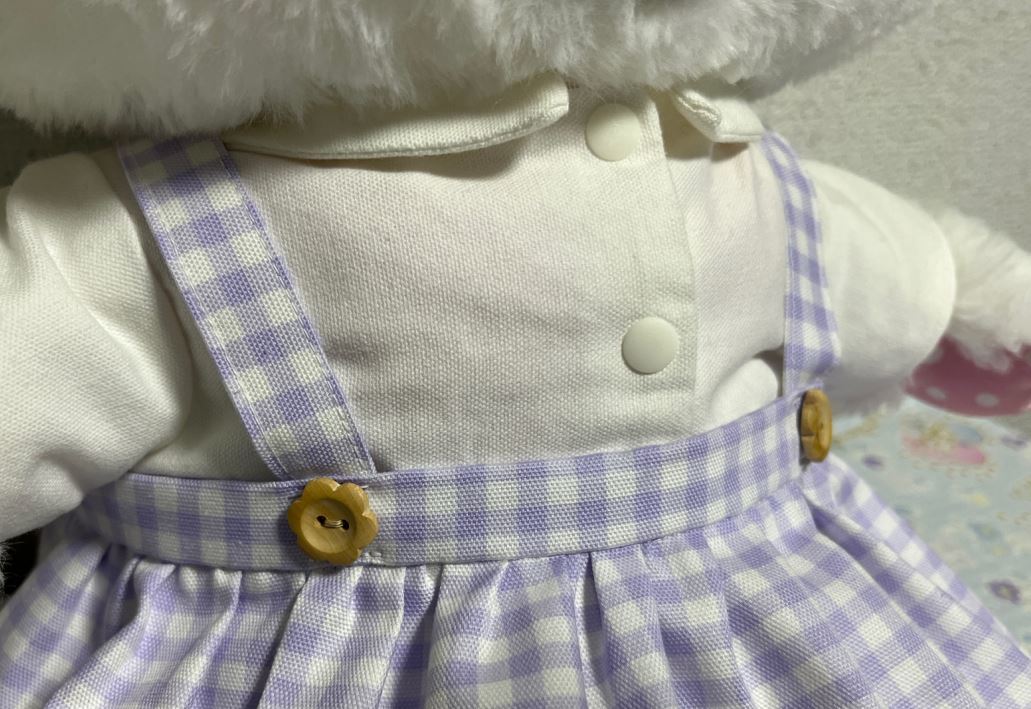
胸のアップです。
やっぱりボタンはあったほうが可愛いと思います。
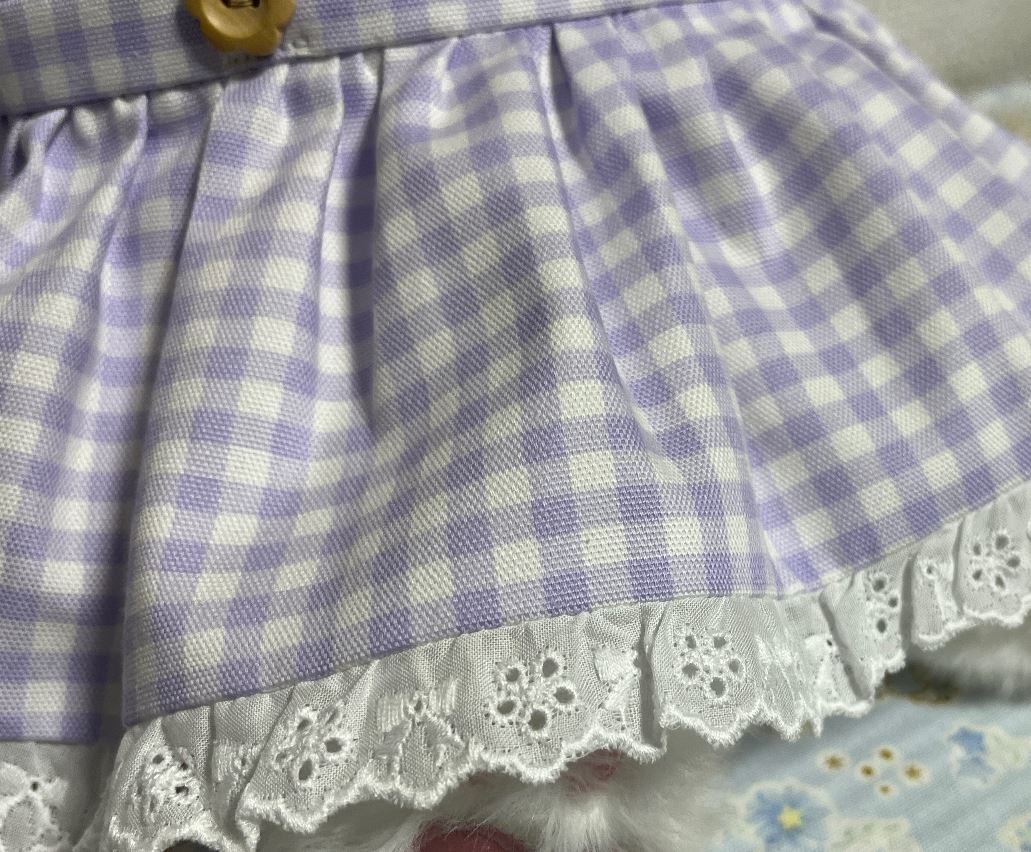
すそです。
レース無しにする場合はスカートすそを1cm長くして下さい。
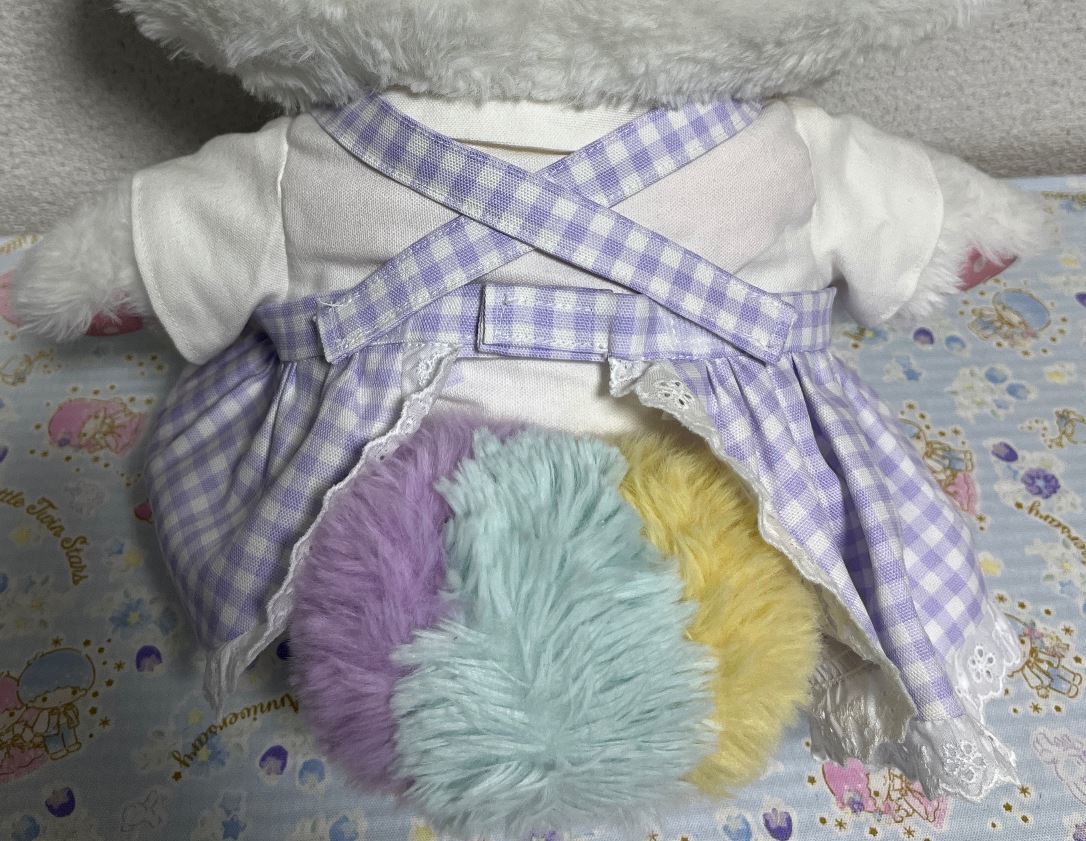
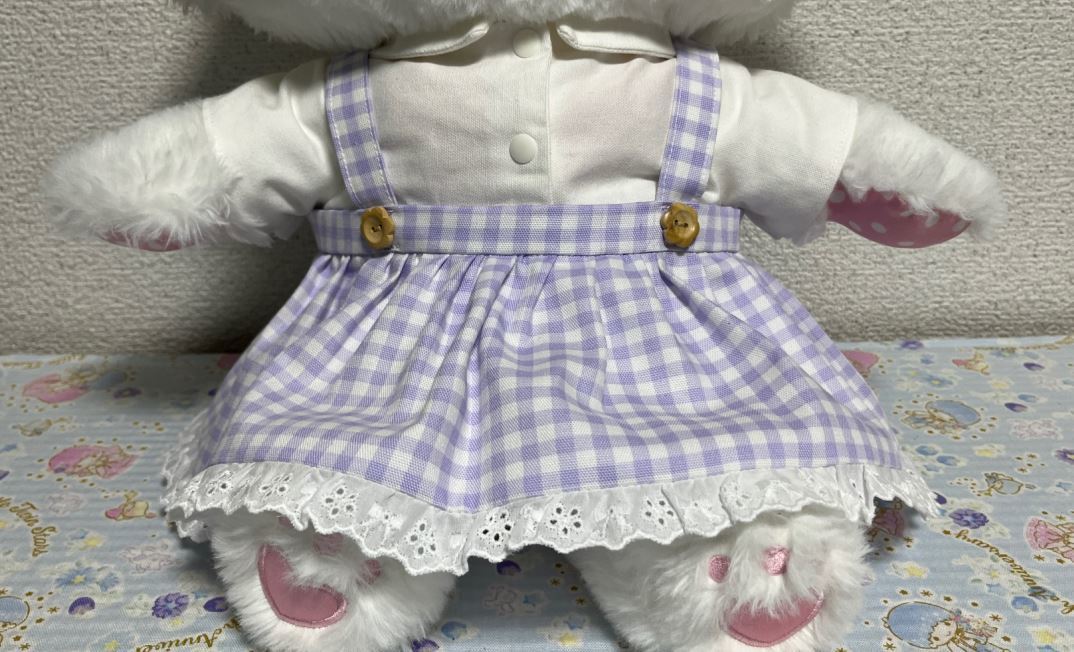
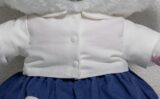
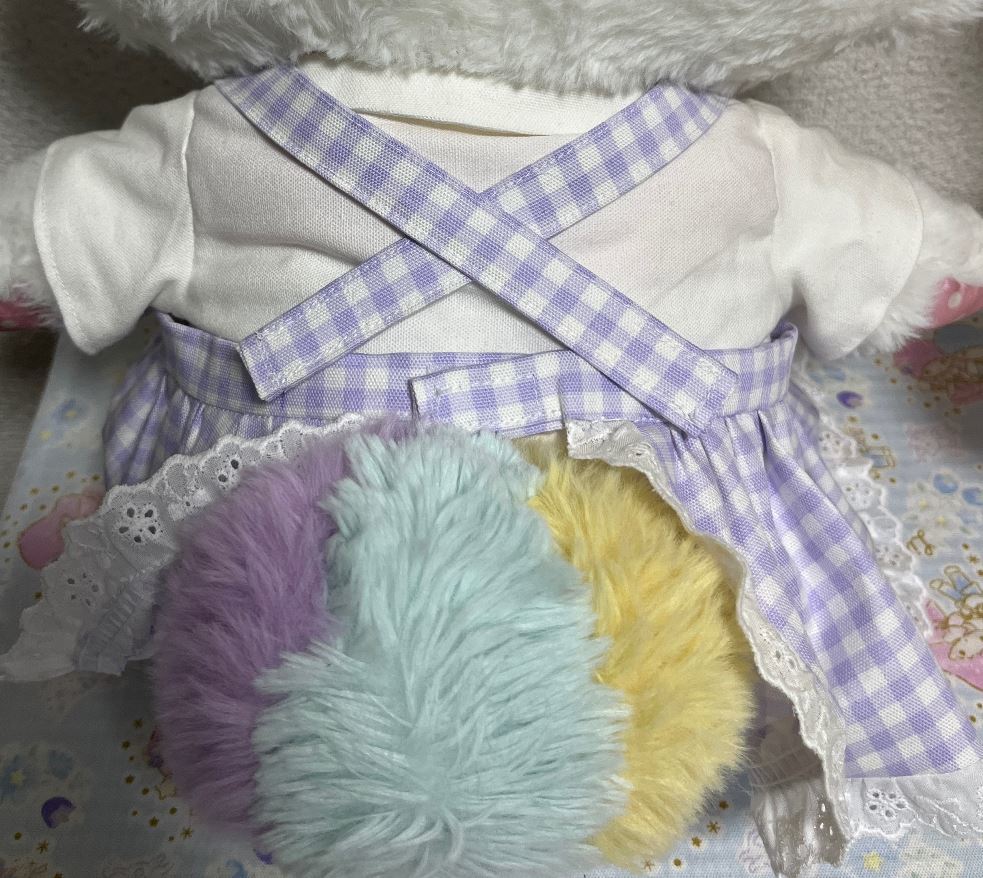
後ろです。
クロスさせないと肩紐がずり落ちたのでこうしています。
名札を付けてみた写真です。
園児感が格段に上がりましたね。
メルメルドールはホントにいろんなお洋服を作って楽しめますね、最高です。
これより本体が大きいとお洋服作る時に机のサイズ的に困るし、逆に小さいと細々して難しくなるので最適なサイズなんですよね。
今後メルメルドールの体型が変わらないことを願っております…
コメント