
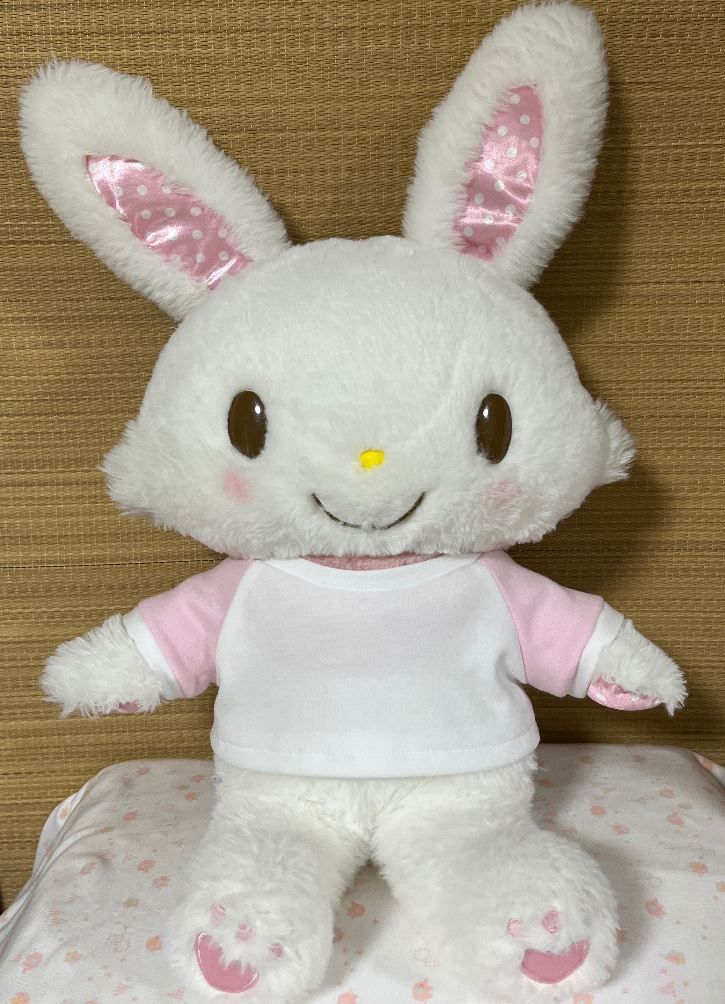
Tシャツです。
色を変えるとトレーナーとかパジャマっぽいやつに見えますね。
コンテンツ
型紙
身頃同士を縫い合わせる
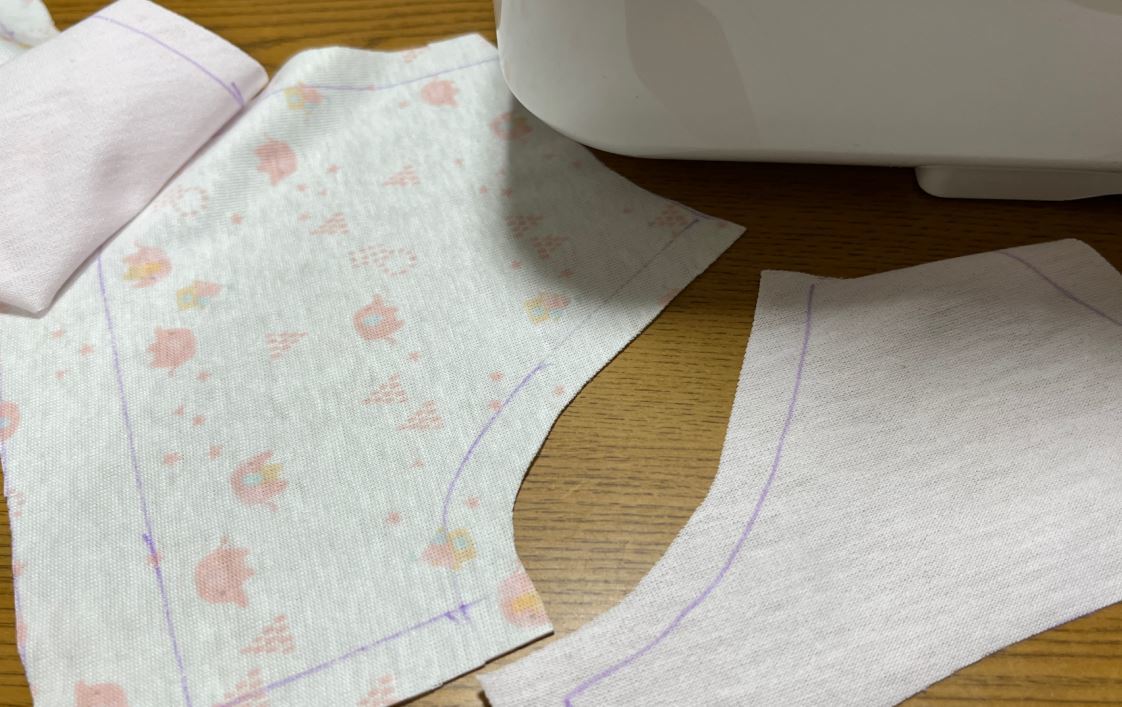
生地を裁断します。
スムース生地でほつれにくいのでほつれ止めしていませんがこういうときにロックミシンが欲しくなりますね…
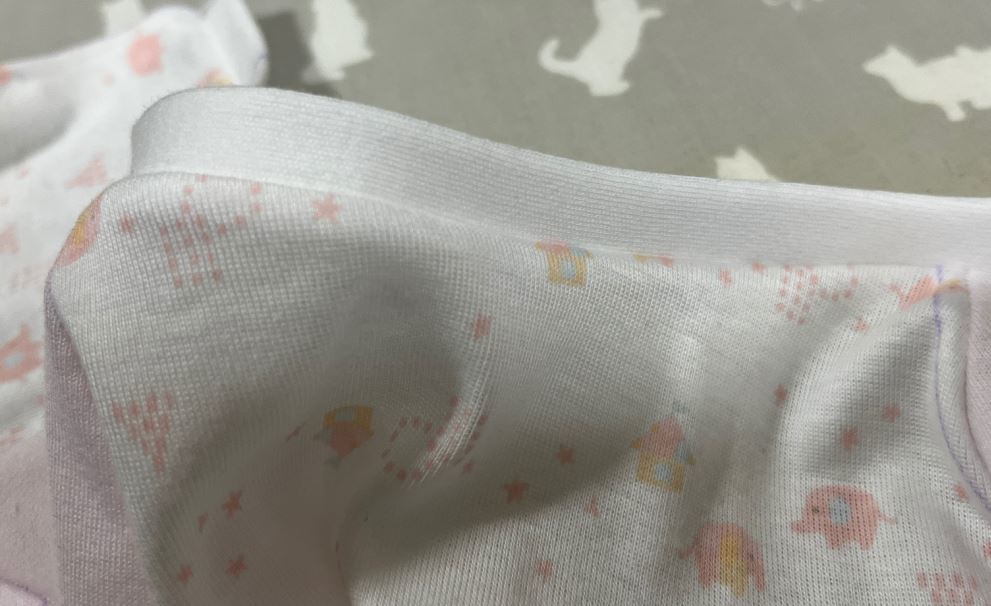
見頃同士を中表にして縫い合わせます。
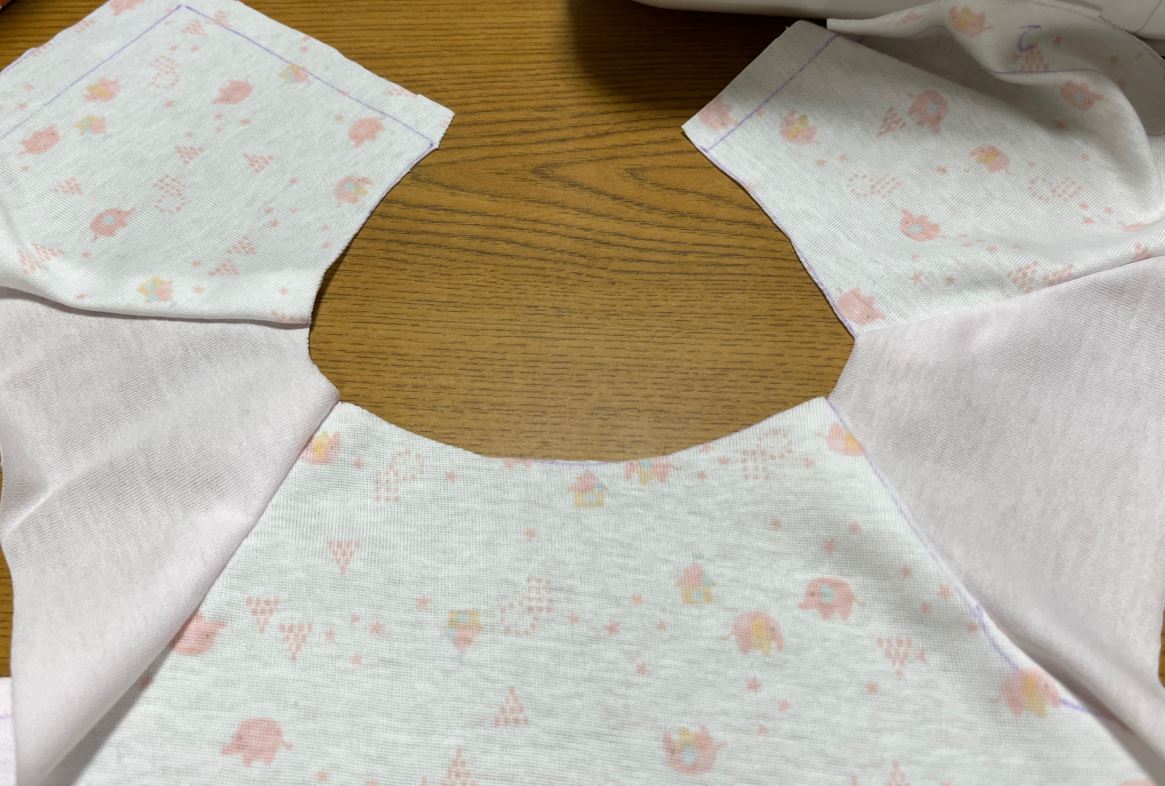
縫い終わるとこうなります。
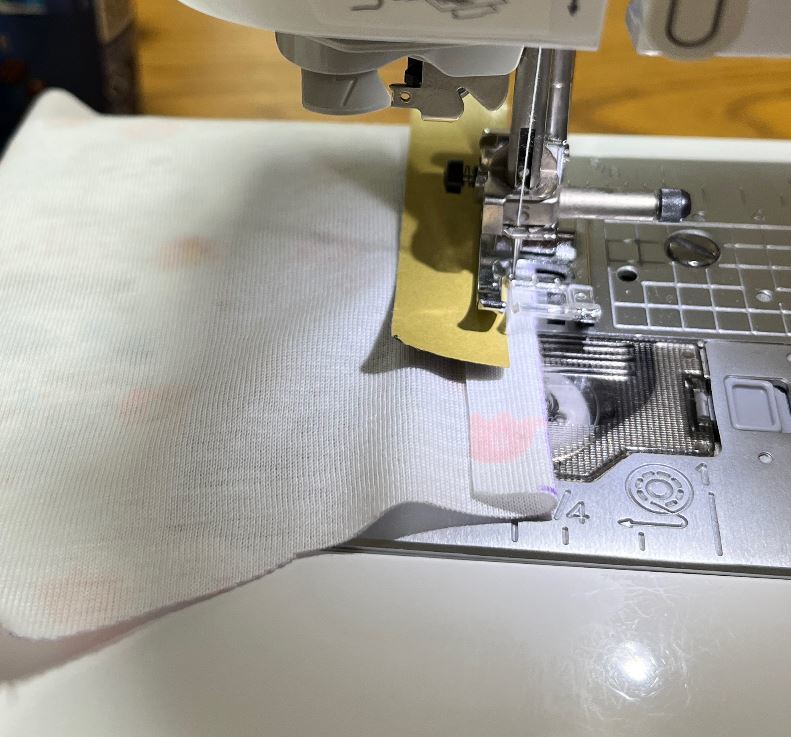
後ろ身頃のマジックテープを付ける部分を1cmで折り返して3mmでミシンを掛けます。
リブの作成・縫い付け(えり)
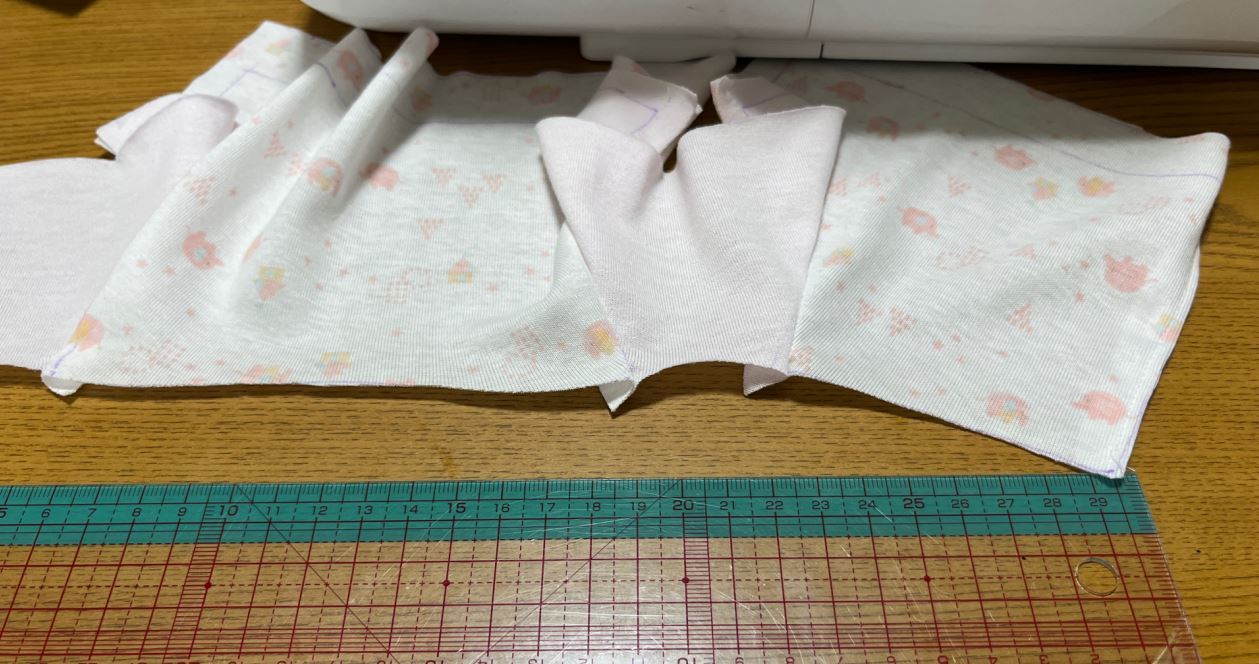
えりの長さを測ります。
伸ばさずに自然な感じにしてから測って下さい。
リブ部分を作成します。
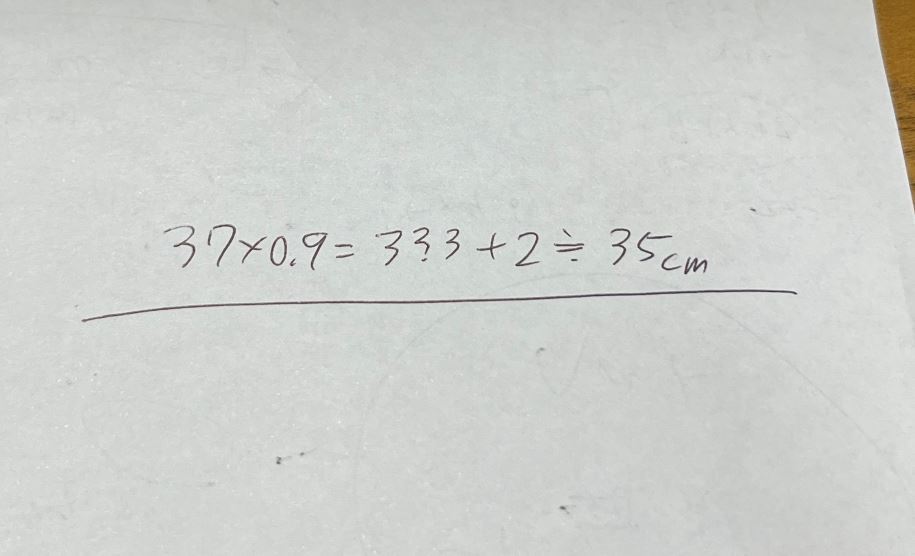
横幅は「測った長さ x 0.9 + 2cm」です。
縦幅は3cmです。
今回は実測値が37cmなので上記のような数式となりました。
リブの両端を1cmで折り返して3mmでミシンを掛けます。
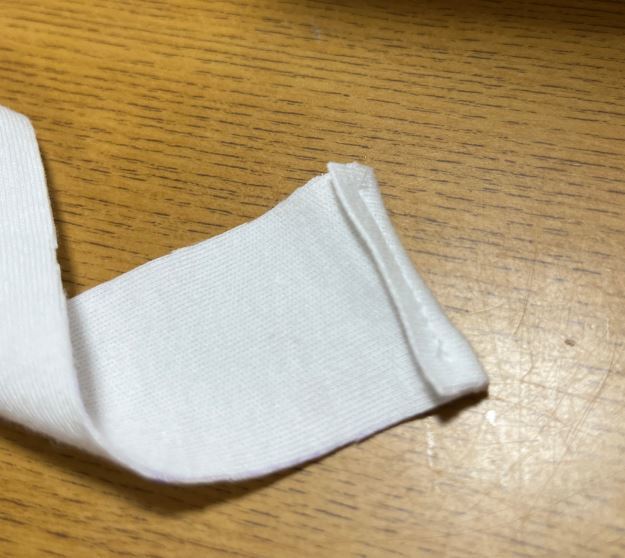
縫い代をカットします。
アイロンで半分に折り目を付けます。
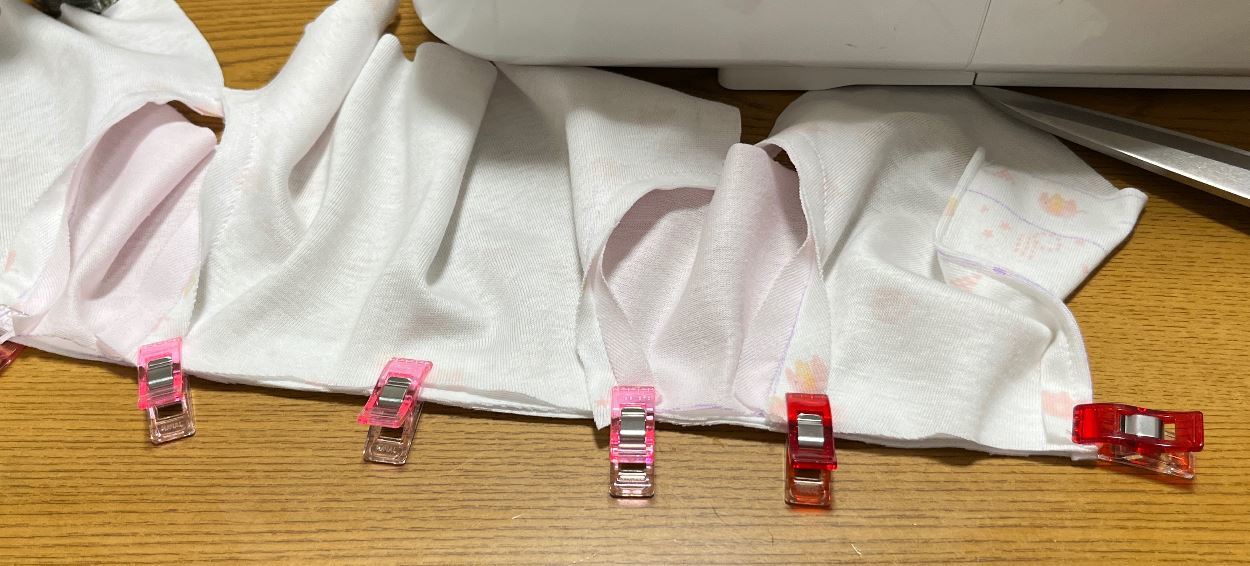
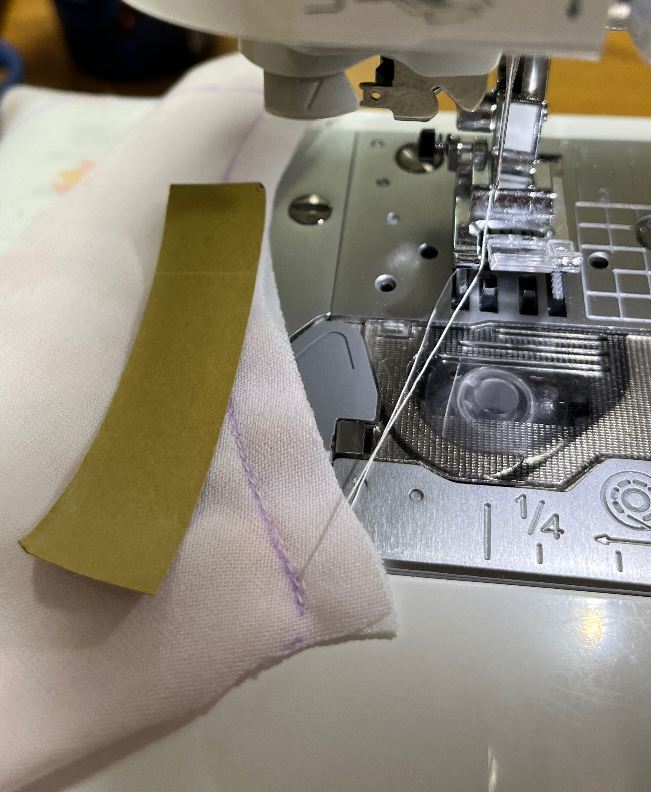
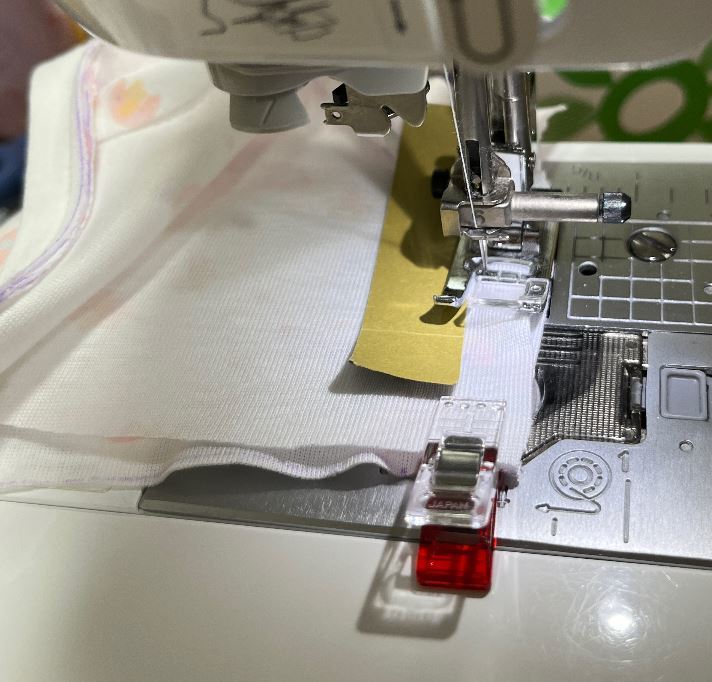
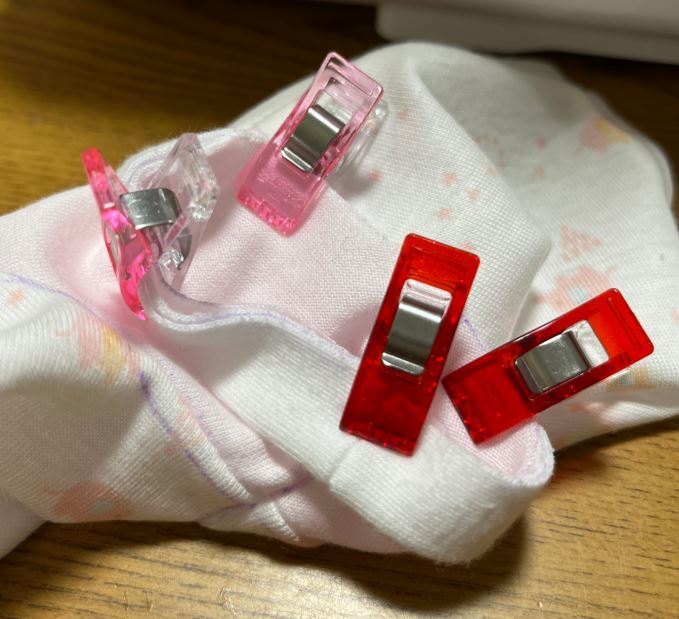
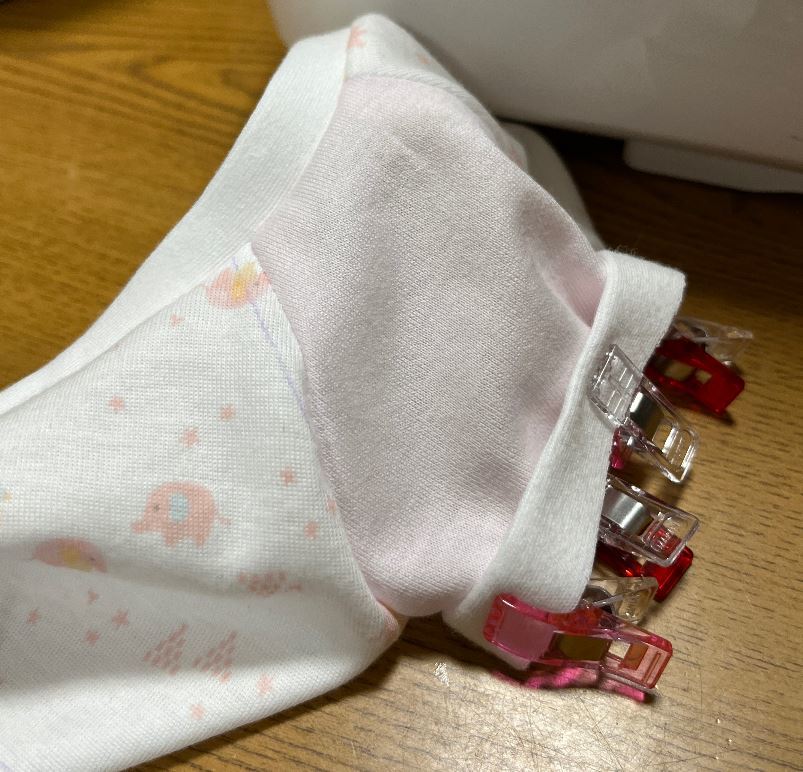
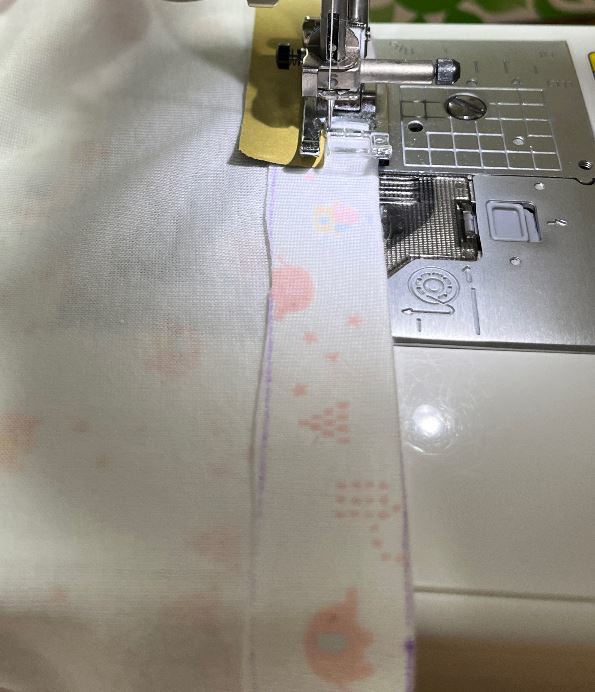
えりとリブを中表にして、写真のようにクリップで留めます。
リブは切りっぱなし部分が外側になるようにします。
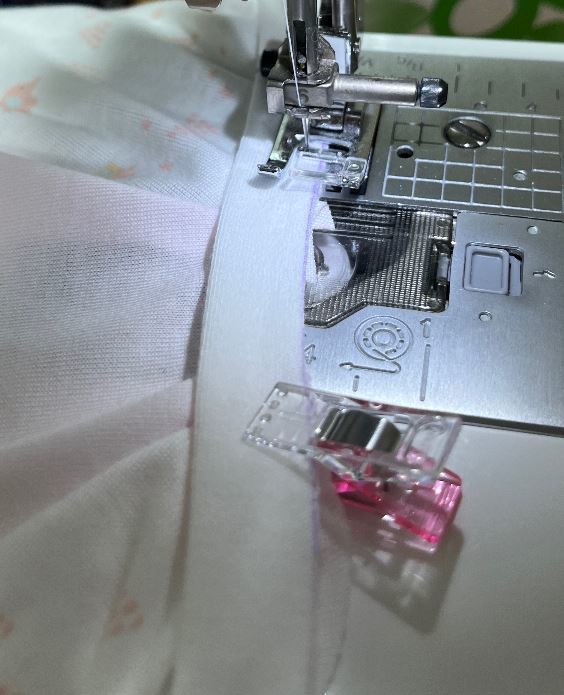
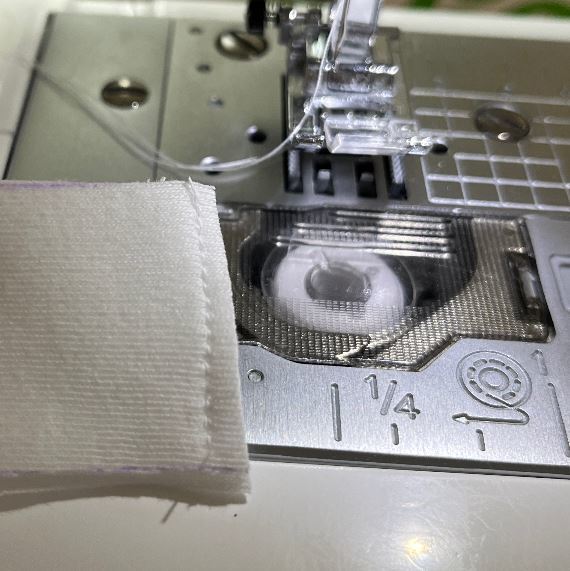
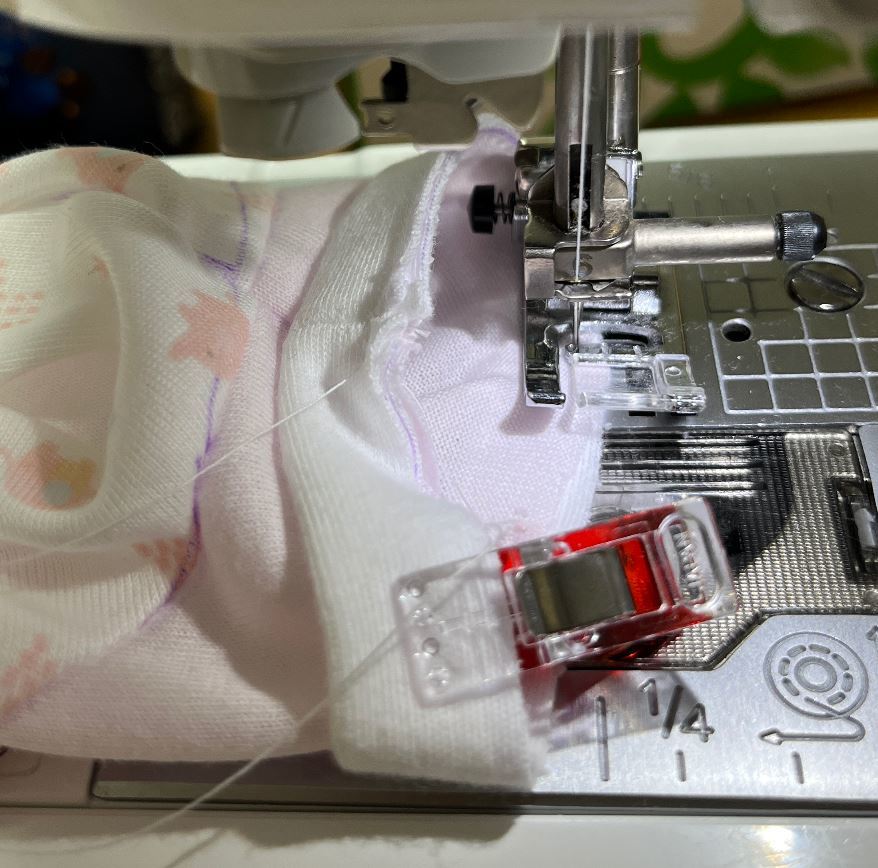
端から5mmでミシンを掛けます。
このとき、針がリブから落ちないように注意して下さい。
上手に縫えました。
わき~すそを縫う
わき~すそを1cmでミシンを掛けます。
縫い代をカットします。
リブの作成・縫い付け(そで)
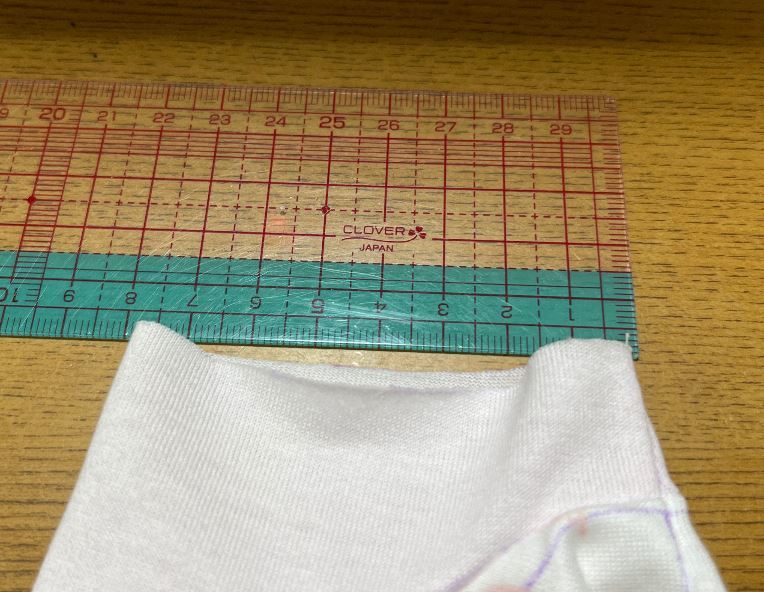
そでの長さを測ります。
その後、以下に沿ってリブを作ります。
横幅は「測った長さ x 0.9 + 2cm」です。
縦幅は3cmです。
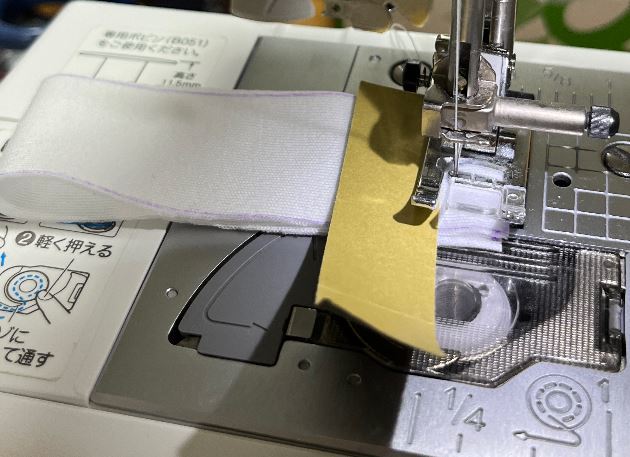
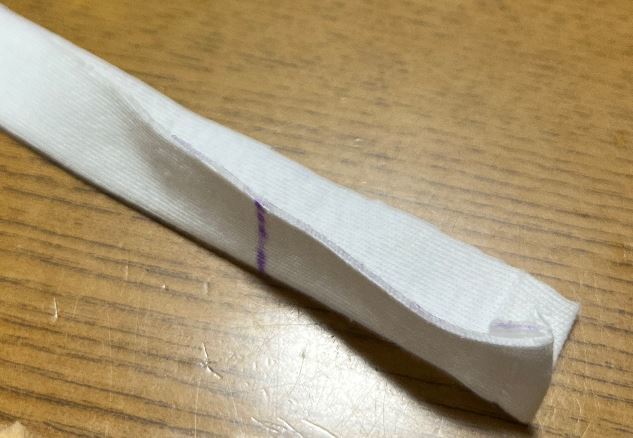
リブを折りたたんで1cmでミシンを掛けます。
縫い代をカットします。
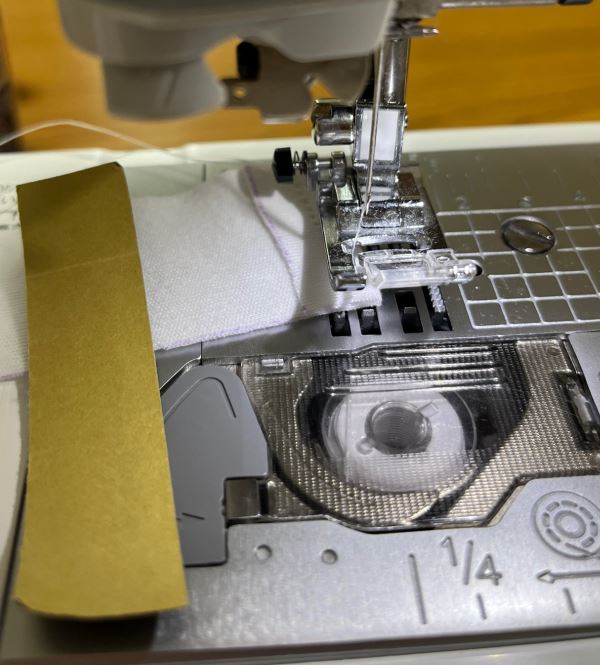
アイロンで写真のように折り目を付けます。
リブが外側になるようにしてそでと中表にしてクリップで留めます。
切りっぱなし部分が外側になるようにします。
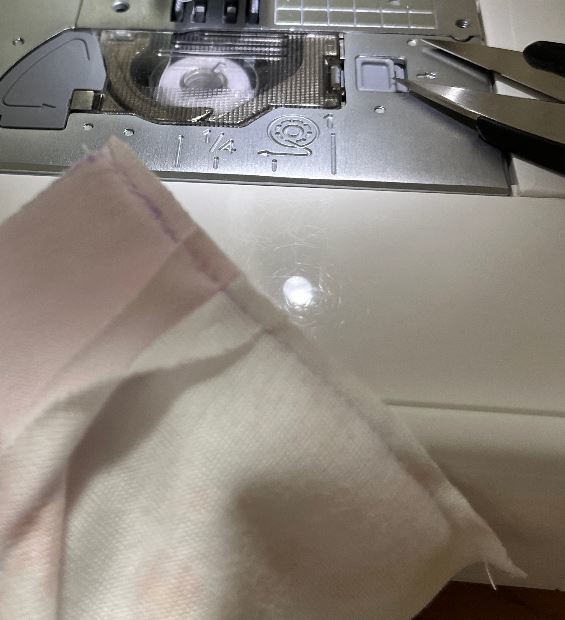
なんでこの写真を撮ったか忘れましたが一応載せておきます。
えりと同様の要領でリブにミシンを掛けます。
分かりづらい場合は「シャツ リブ 付け方」で検索してみてください。
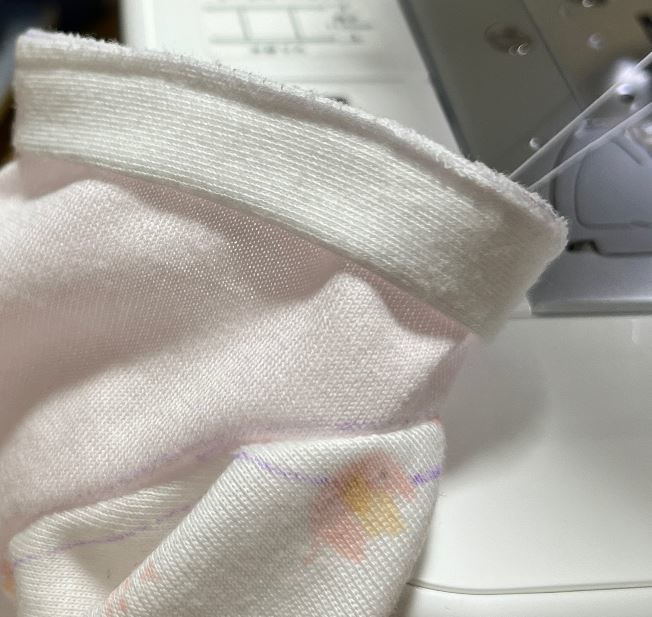
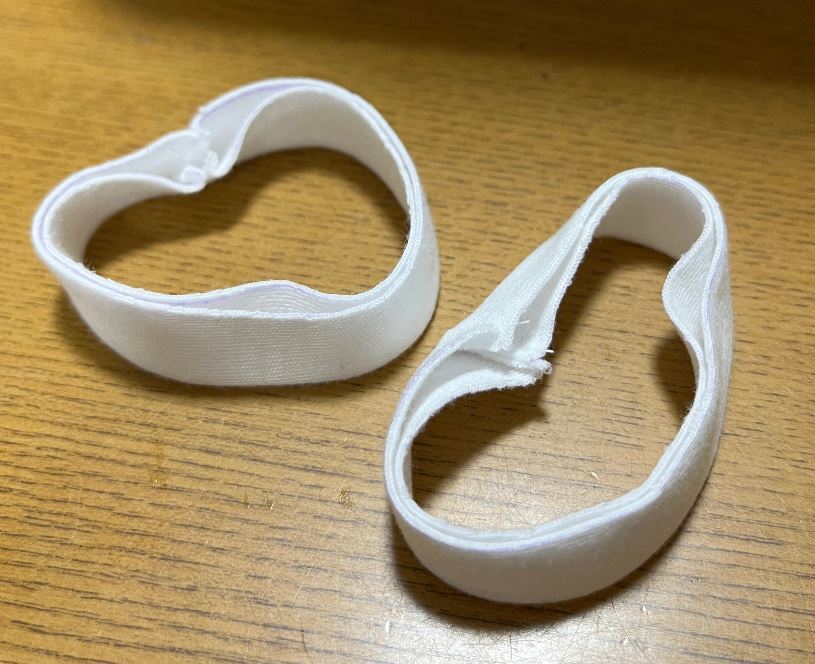
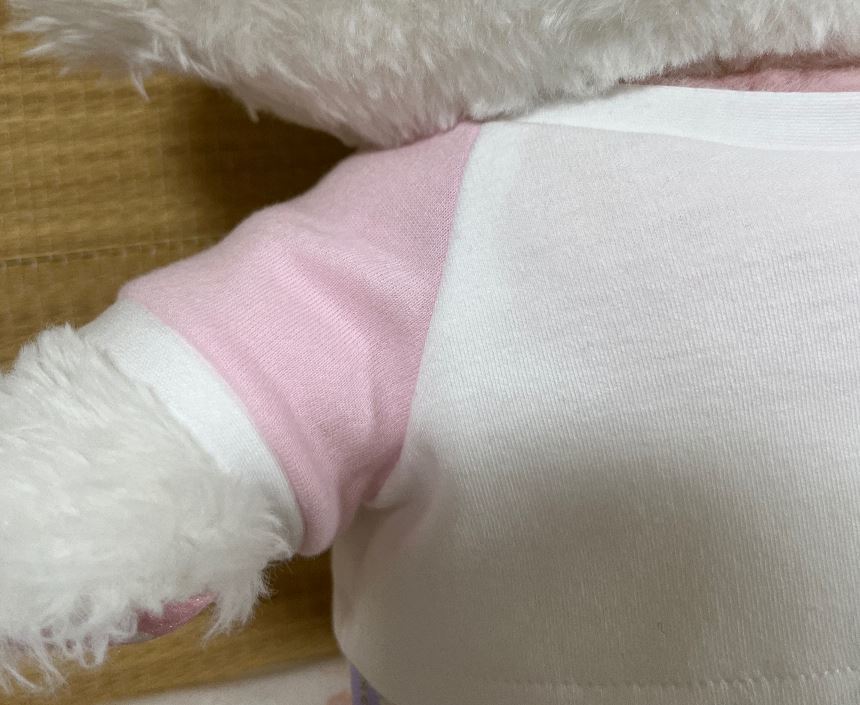
上手に縫えましたね。
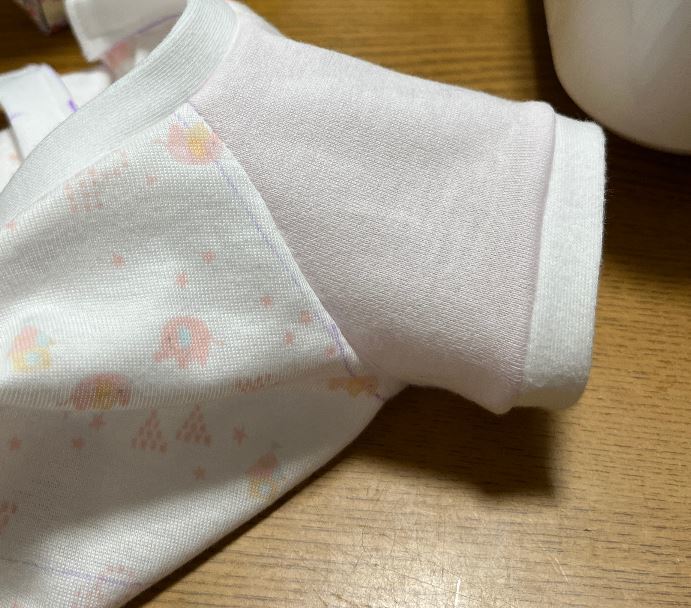
リブをひっくり返すとこうなります。
すそを縫う
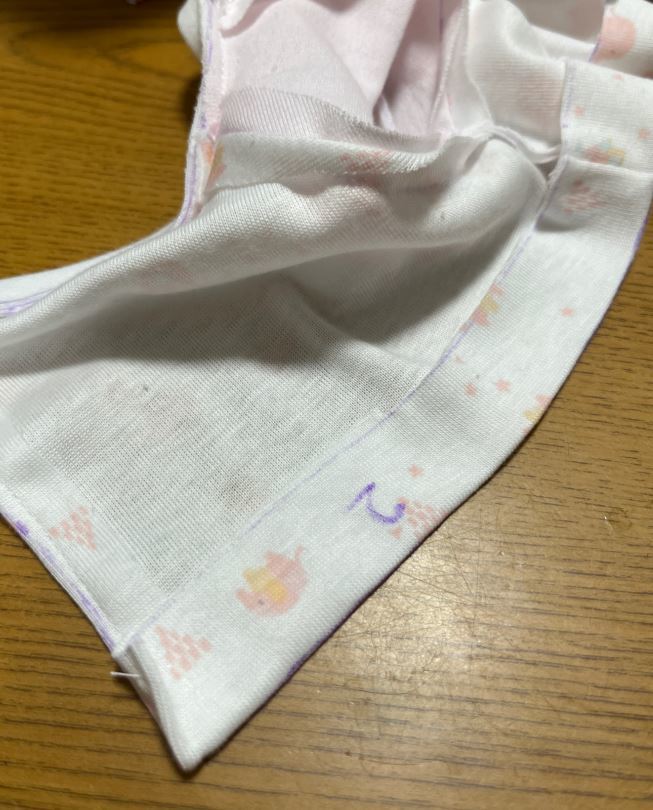
すそを2cmで折り返してアイロンします。
1cmでミシンを掛けます。
最後に背中にマジックテープを縫い付けます。
完成!!
で、完成です。
この配色はパジャマみたいでとっても可愛いですね。
めっちゃ上手に出来てますね、これ。

マジックテープで開閉します。
リブまでマジックテープがかかってないですね…
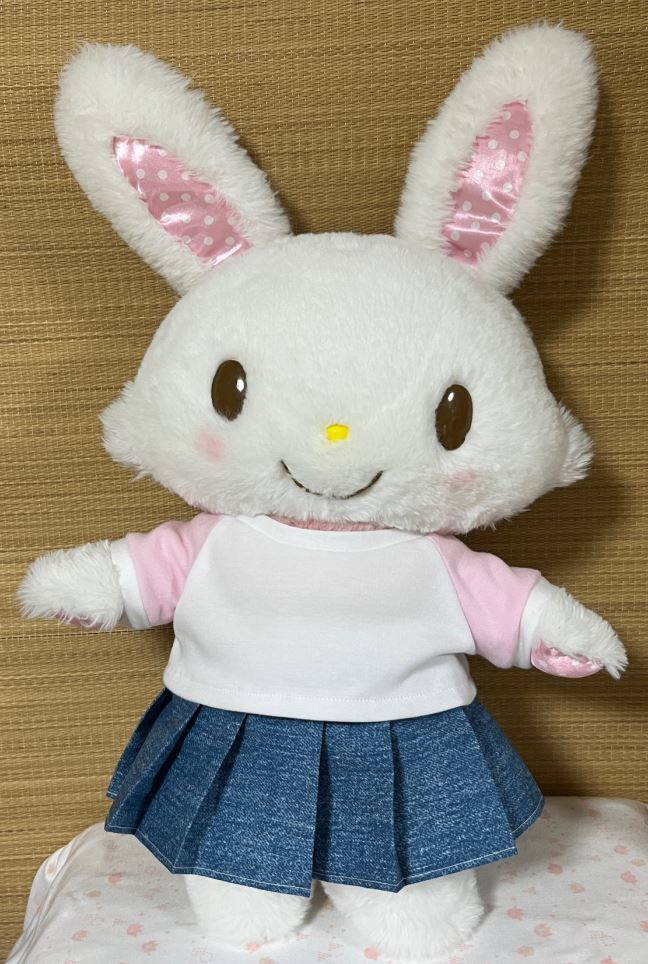
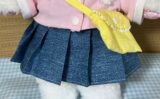
プリーツスカートと合わせてみました。
テーマは「近所の公園で遊んでいる子供」です。
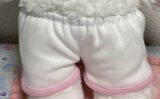
ハーフパンツと合わせるとパジャマ上下セットが出来るのでおすすめです。
コメント