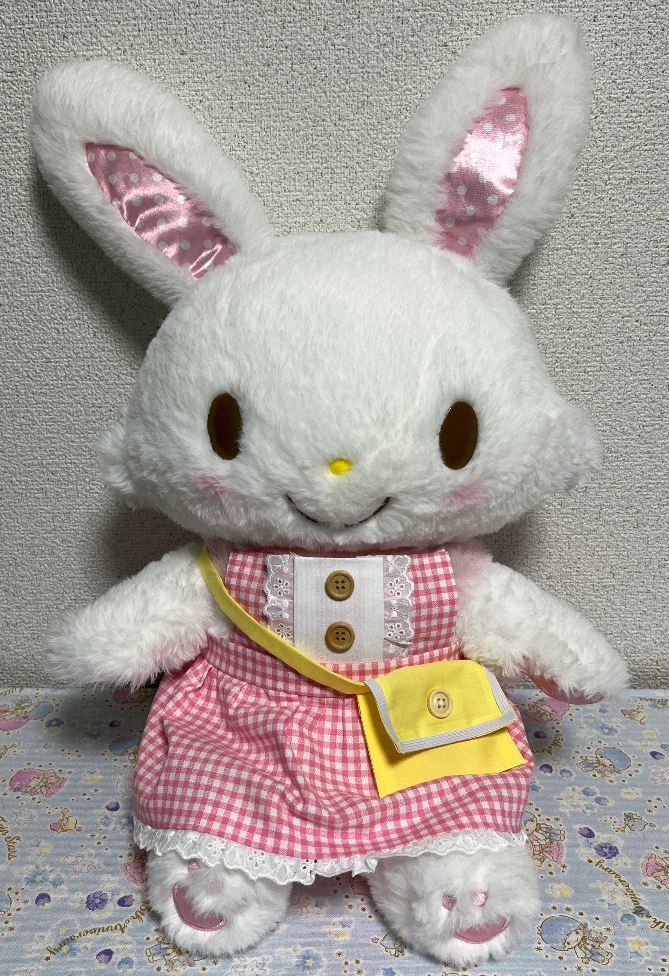
裁ほう上手のみで作成したポシェットです。
需要を感じた…気がするので裁ほう上手シリーズ第二弾です。
ミシンばっかりだったので単純に作ってて楽しいです。
便利な世の中ですねぇ。
着ているお洋服は以下のエントリのものです。
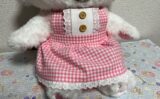
ミシンのいらないシリーズが充実してきてメルちゃんがどんどんおしゃれになっていきますね。
次はリボンあたりでしょうか…?
コンテンツ
必要な資材
・裁ほう上手(チューブタイプ・スティックタイプどちらでも可)
・生地(厚すぎるものは熱圧着に不適、薄すぎるものは折り目が透けて見えるので不適)
・サテンリボン(幅5mm程度のものを20cm)
・アイロン接着タイプのマジックテープ
・消えるチャコペン
※ボタンを手縫いする場合
・手縫い用の糸(ミシン糸でもなんでも可)
型紙
※すべて縫い代込みです
ポシェット本体:19cm x 10.5cm
肩紐:[ お好みの長さ ] cm x 4.5cm を2セット
※肩紐の長さは着せるお洋服の厚みによって自身で調整して下さい。
短いよりは長いほうがマシなので長めに取ることをおすすめします。
アイロンの設定について
※今回、アイロンをする際はこんな感じにしています
・折り目をつける・レースのしわを整える→高温スチームあり
・裁ほう上手を圧着(薄い箇所)→中温スチームなし
・裁ほう上手を圧着(厚い箇所:ベルト等)→高温スチームなし
・マジックテープを圧着→高温スチームなし
生地を裁断・ほつれ止めを付ける
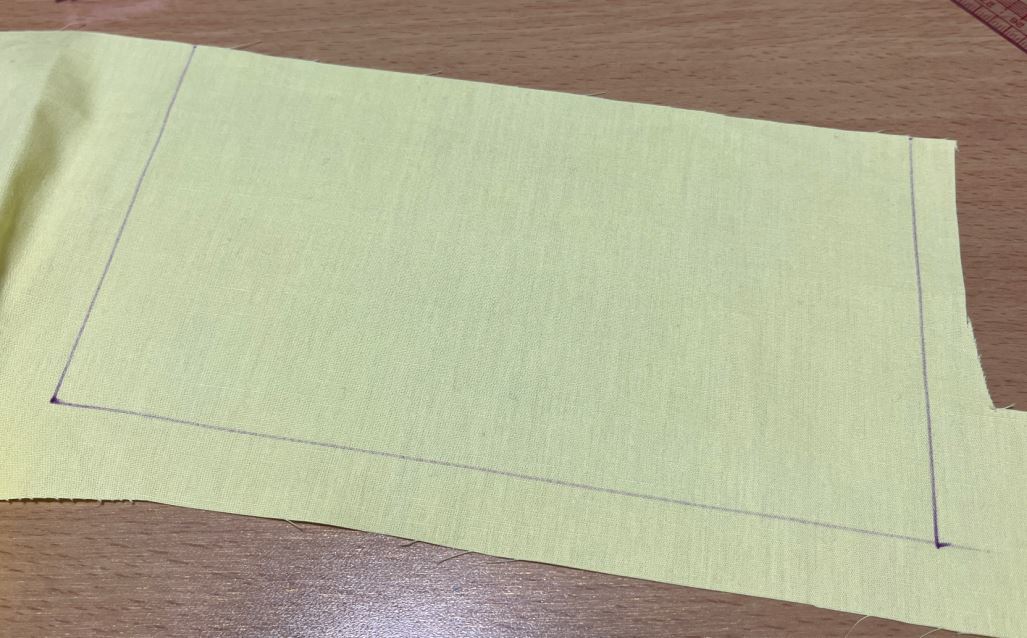
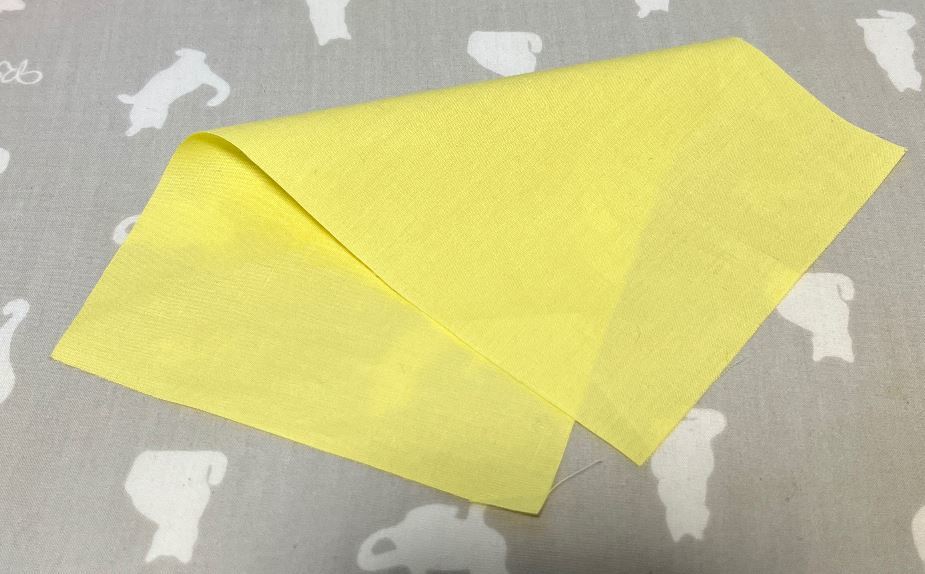
生地を裁断します。
特に、今回はmm単位で印をつける工程があるのでしっかり測って裁断して下さい。
余力のある方は以下のパーツにほつれ止め液を付けて下さい。
・ポシェット本体の4辺
肩紐の作成
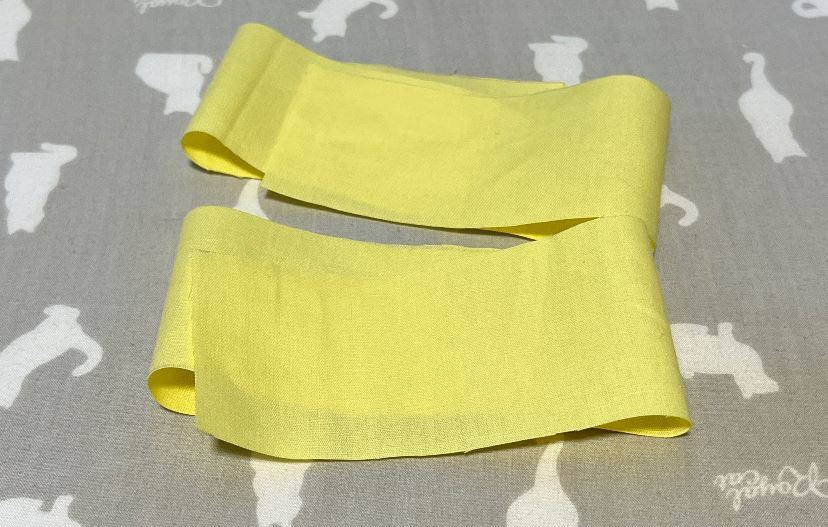
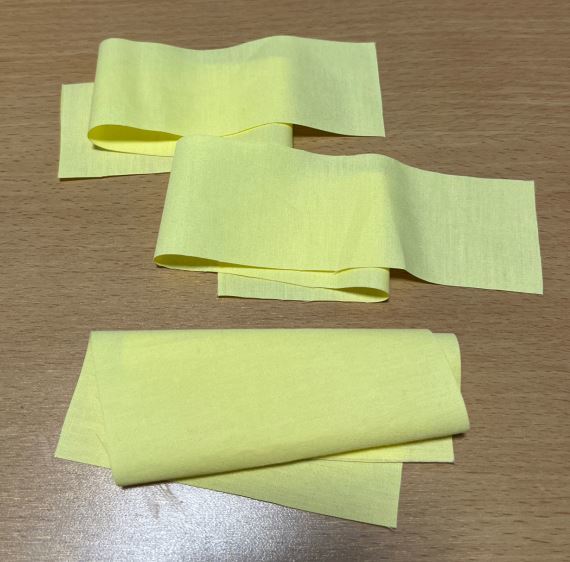
肩紐を作成します。
両端を1cmで折ってアイロンします。

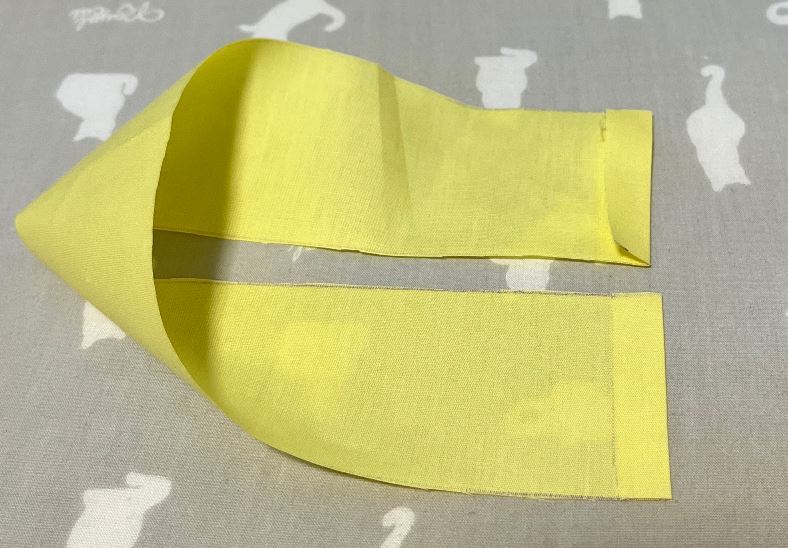
半分に折ります。
先程の折り目に合わせて3つ折りにします。
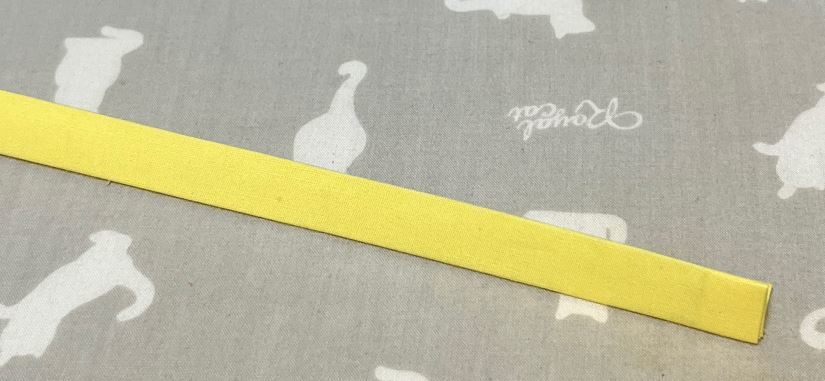
アイロンで形を整えます。
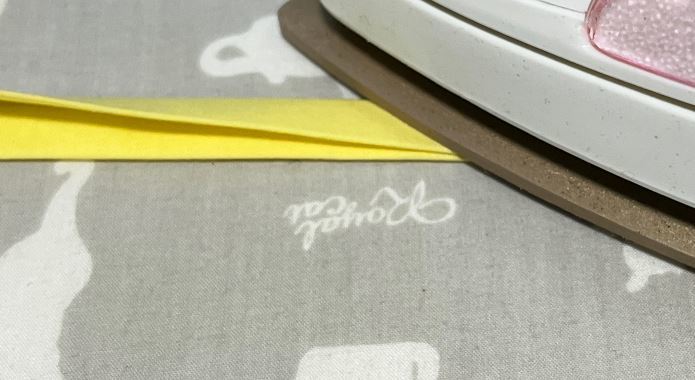
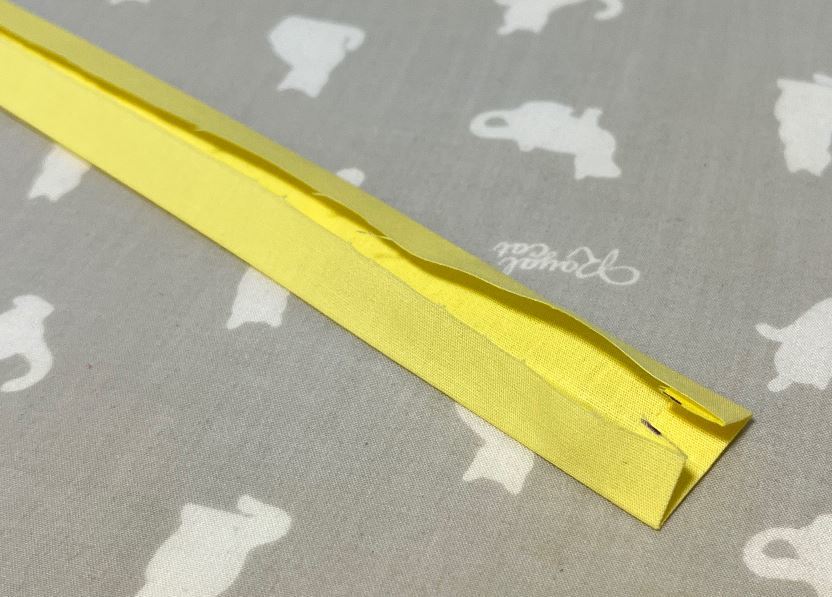
裁ほう上手で接着します。
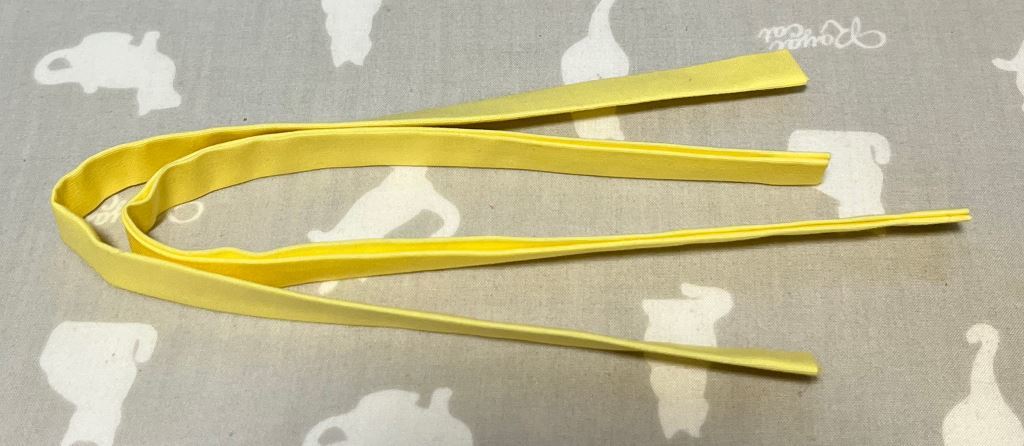
2本作ります。
ポシェット本体の作成
折り目を付ける
続いてポシェット本体を作ります。
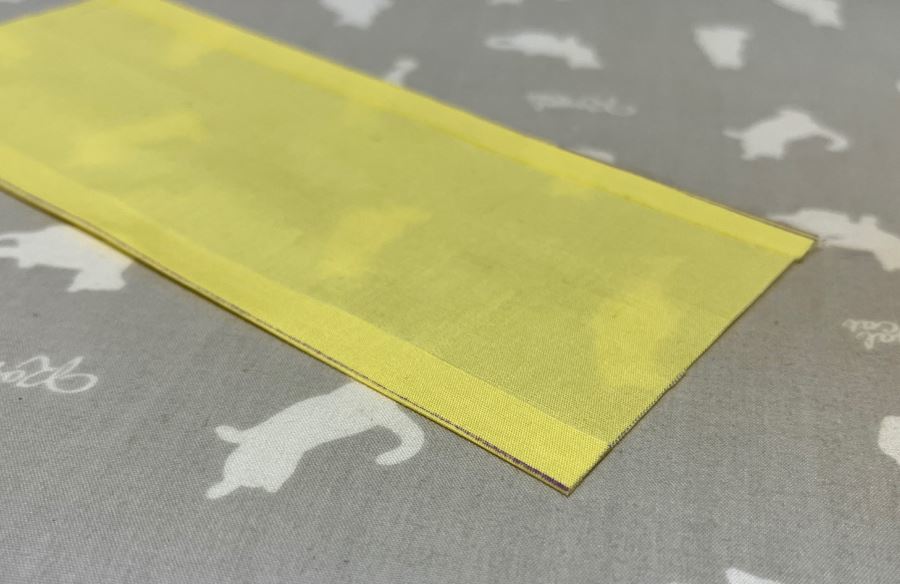
ポシェットの長い辺を1cmで折り返して裁ほう上手で接着します。
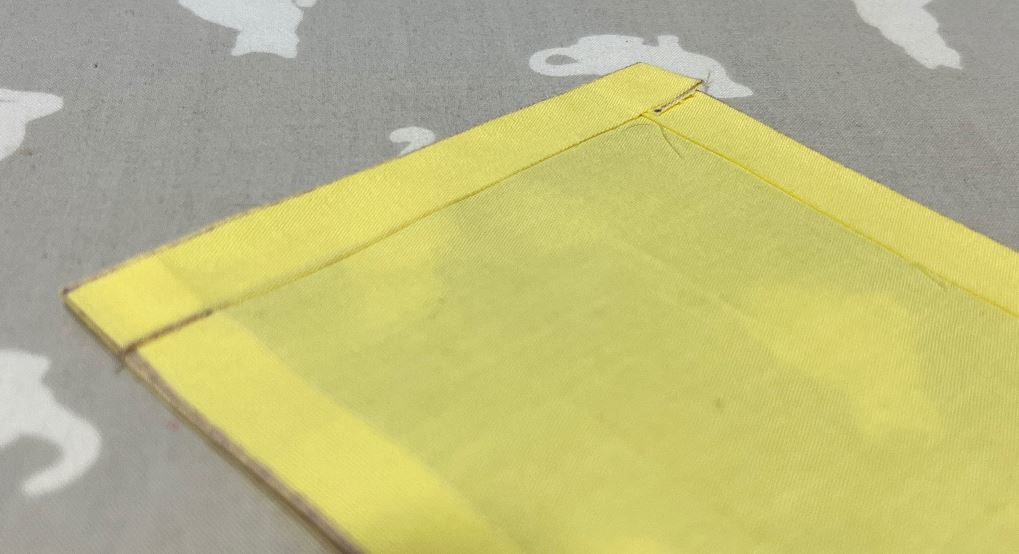
その後、短い辺を同じく1cmで折り返して裁ほう上手で接着します。
長い辺→短い辺の順に接着して下さい。
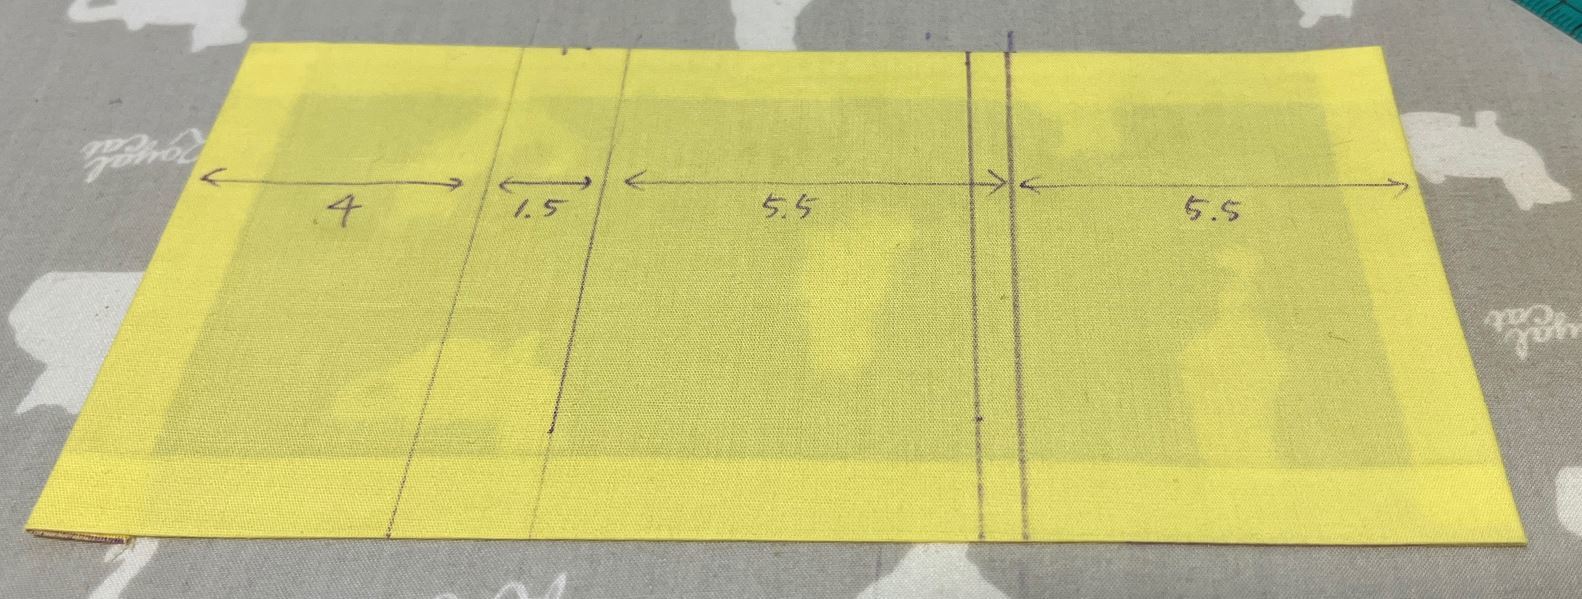
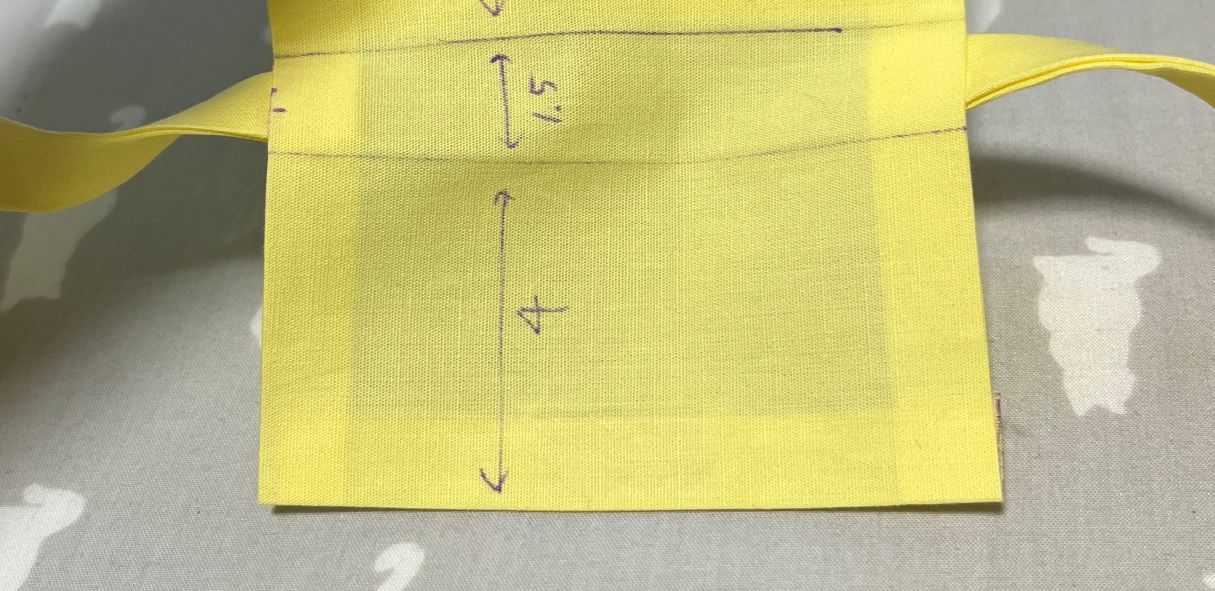
消えるチャコペンで写真のように印をつけて下さい。(一部ミスってます)
寸法がずれた場合は左の4cmの箇所で調整して下さい。
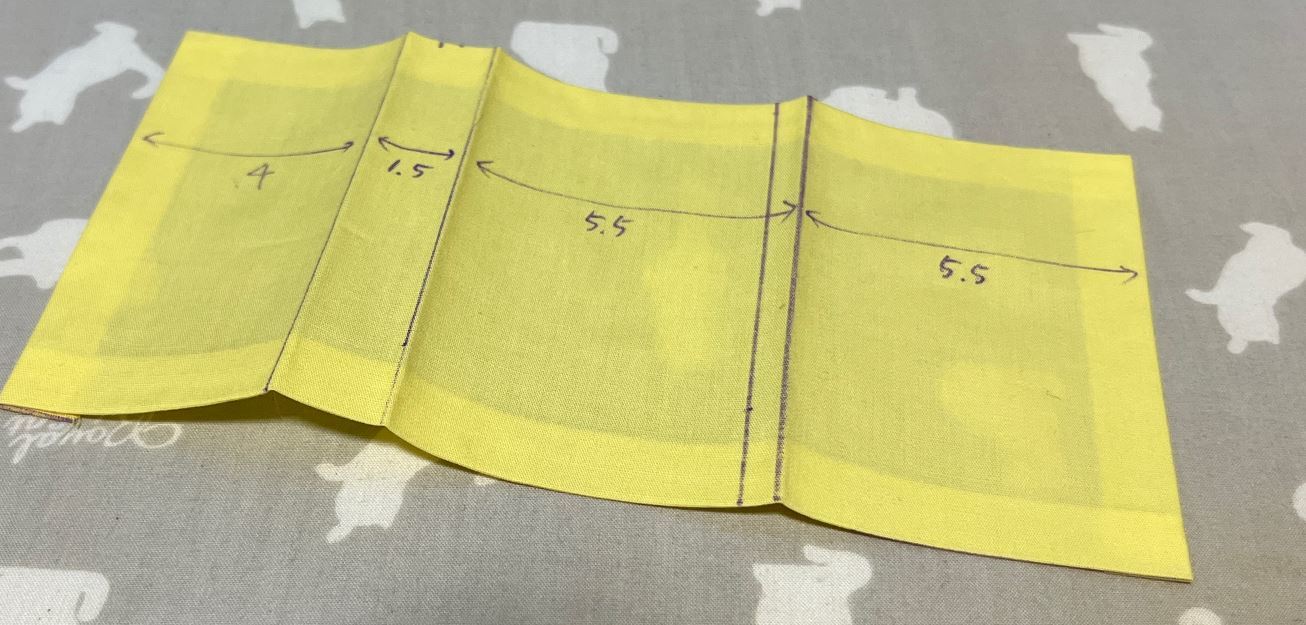
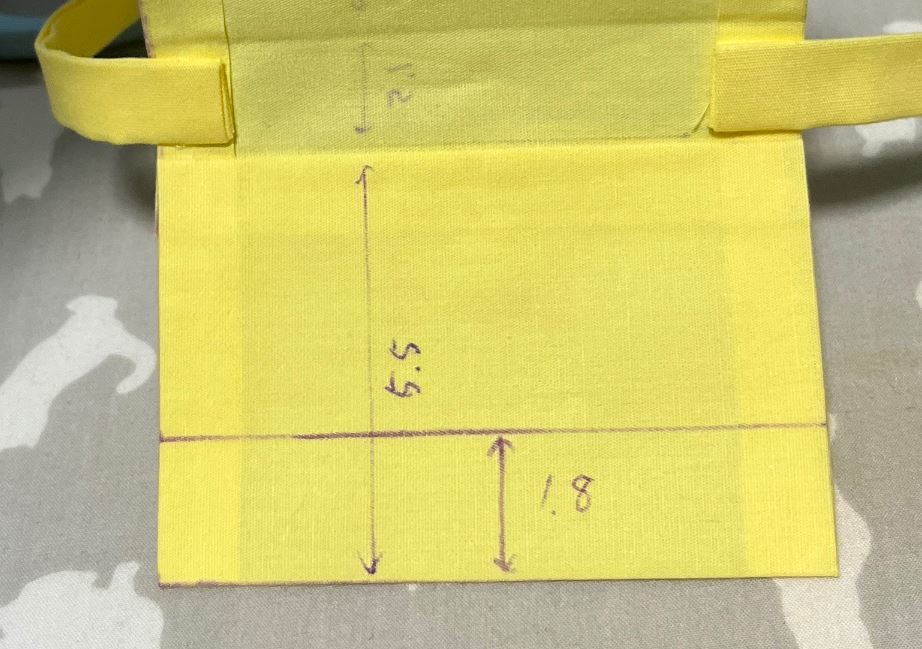
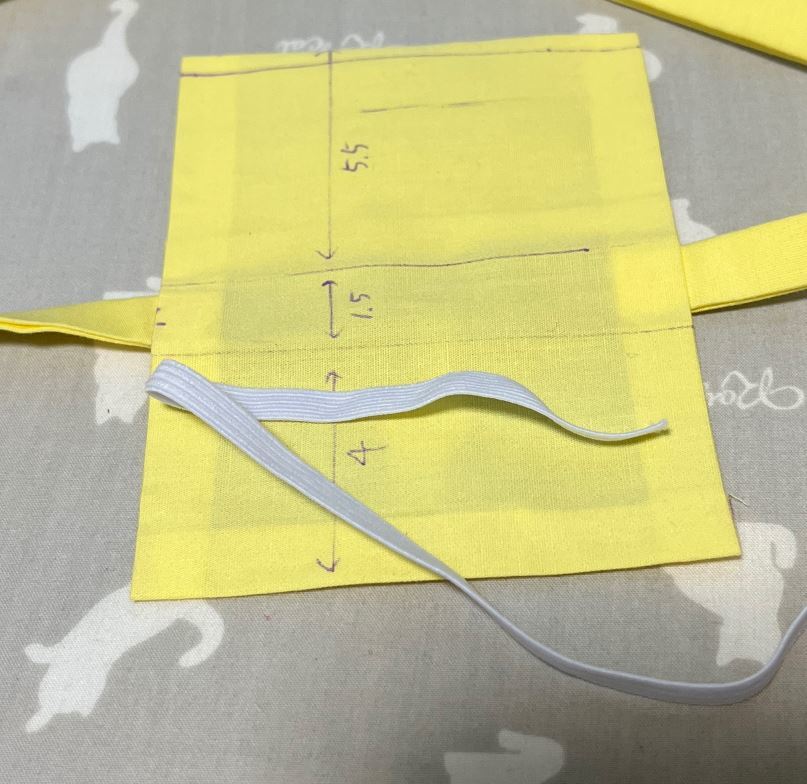
チャコペンの印に沿って山折りにします。
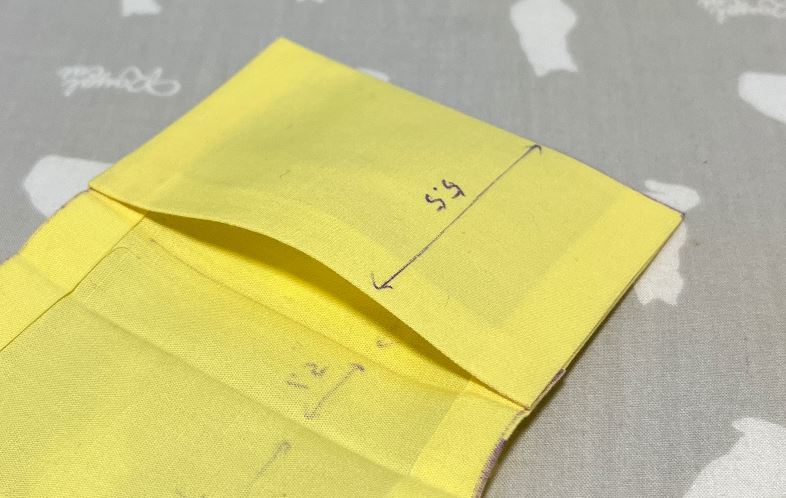
5.5cmの部位を折り返し、端っこを裁ほう上手で接着します。
肩紐を付ける
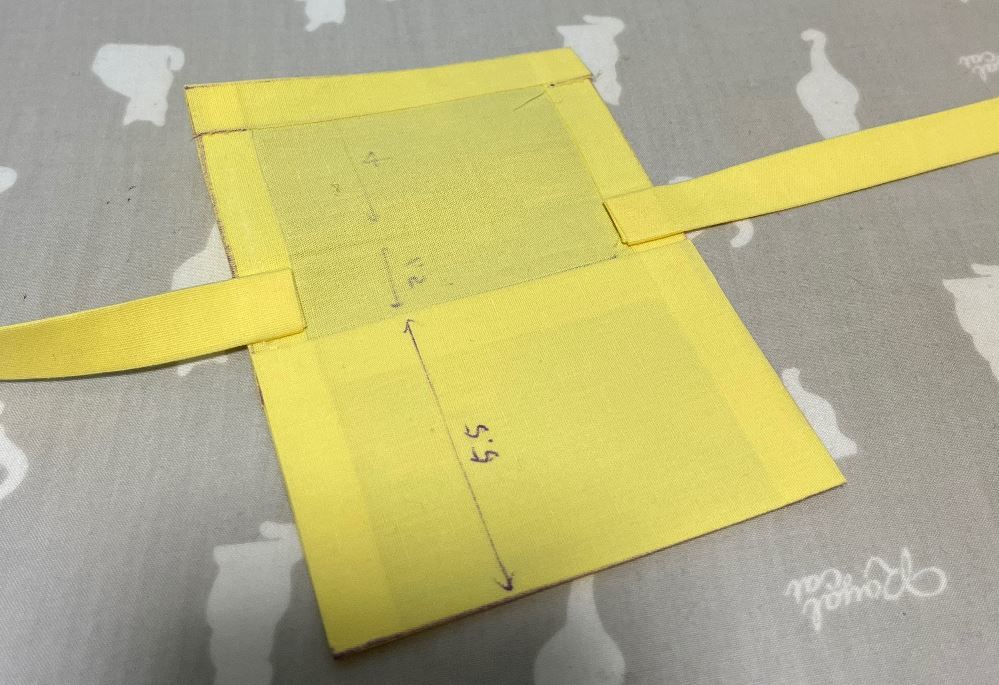
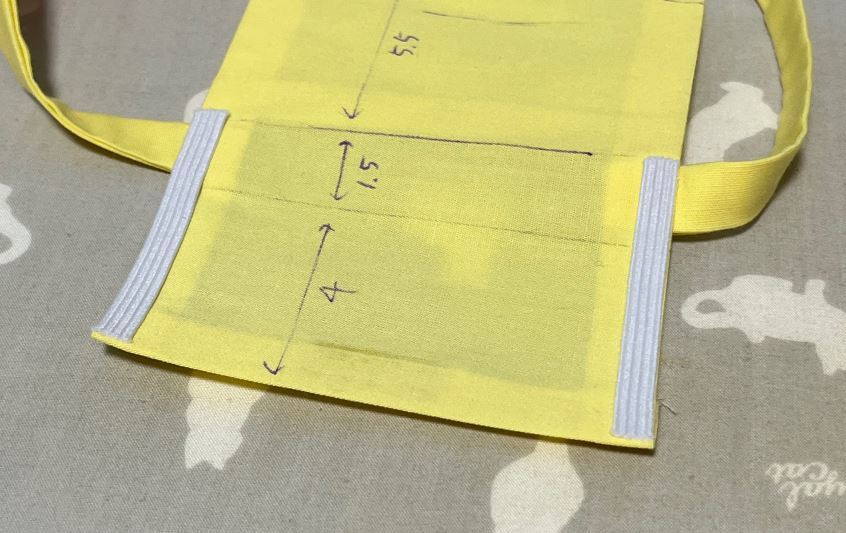
肩紐を取り付けます。
1.5cmの印の位置に、ポシェットに肩紐が1cm重なるようにして裁ほう上手で接着します。
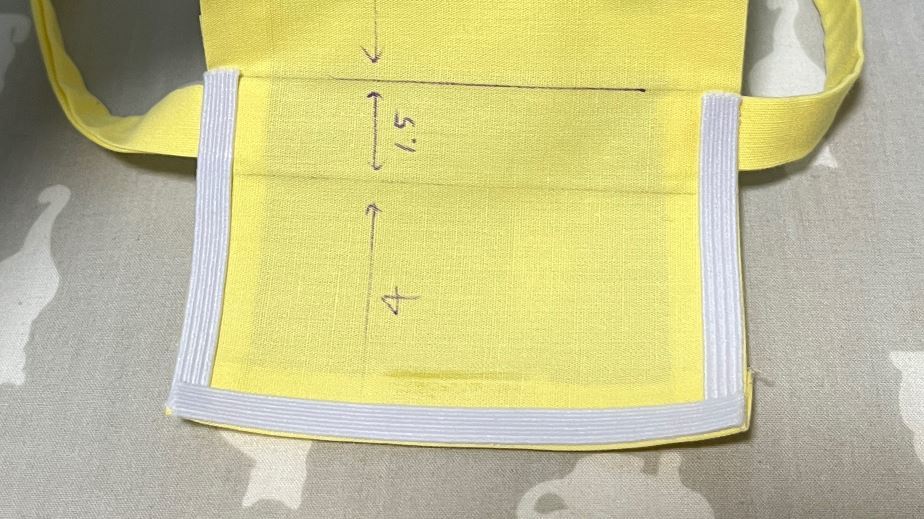
マジックテープを付ける
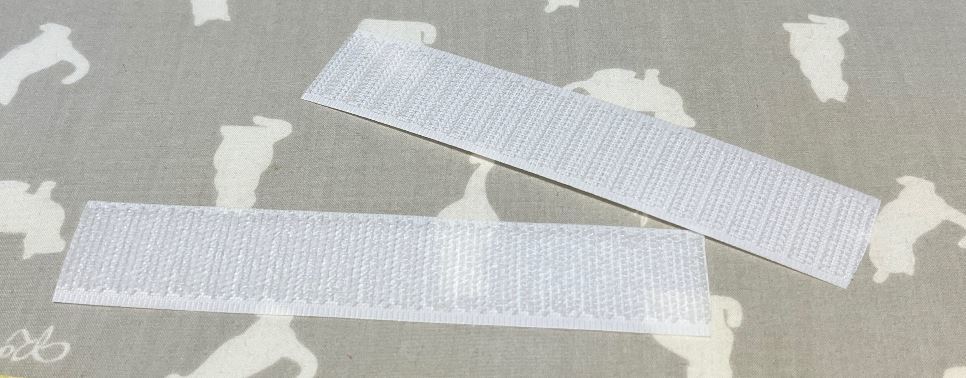
熱圧着タイプのマジックテープを用意します。
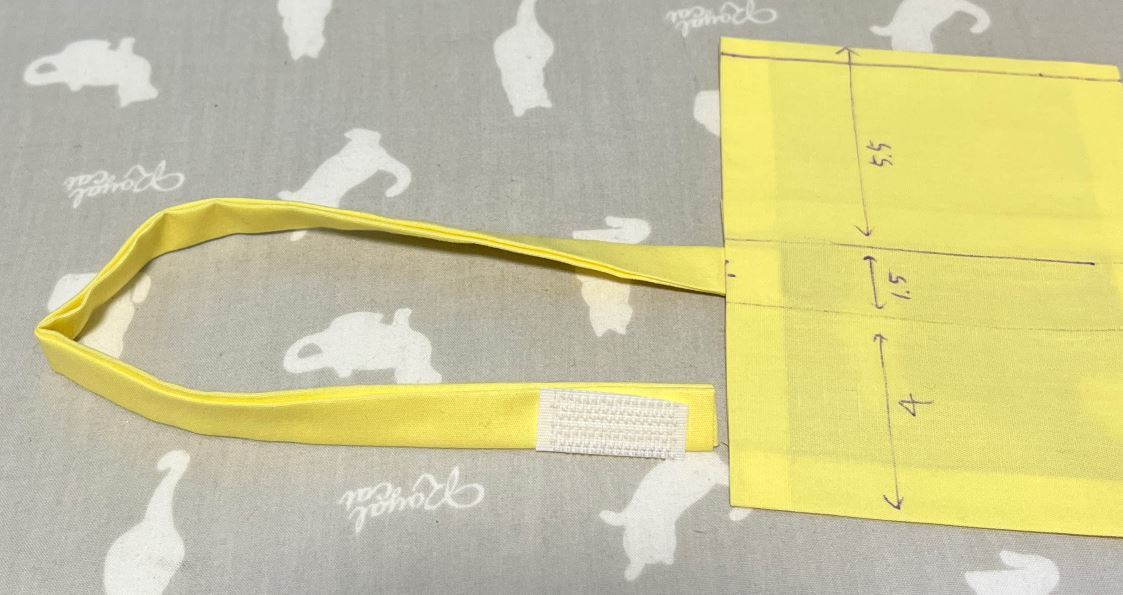
肩紐にマジックテープを取り付けます。
まずオスですが、ポシェット本体が表になるように置いた表面に取り付けます。
※写真の位置を参照

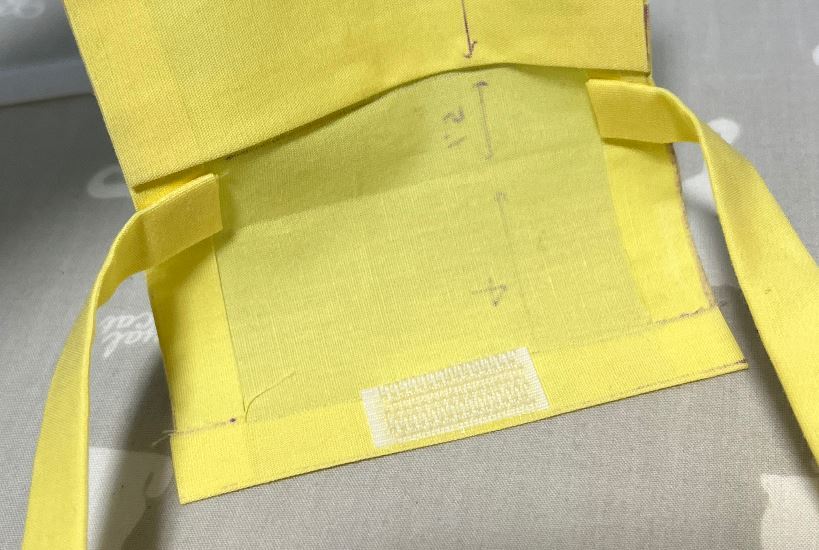
メスですが、ポシェットの裏側が上になるように置いた写真の位置に取り付けます。
※分かりづらい場合は本ページ下部の完成後の写真を参照
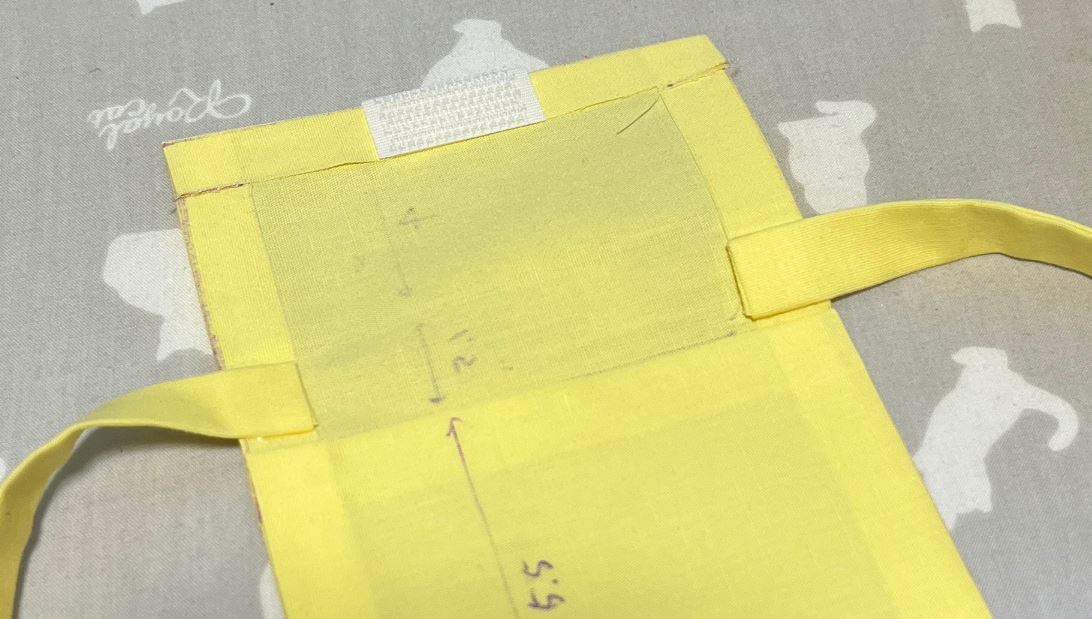
ポシェット本体にマジックテープのオスを取り付けます。
フタとなる箇所の端に接着します。
このとき、フタの上からマジックテープが見えないように少しだけ内側にずらして接着します。
こんなイメージです。
1mm程度内側に接着します。
マジックテープのメスを取り付けます。
下から1.8cmの位置にチャコペンで印を付けます。
※この長さは現時点でフタを閉じてみて、好みで調整して下さい。
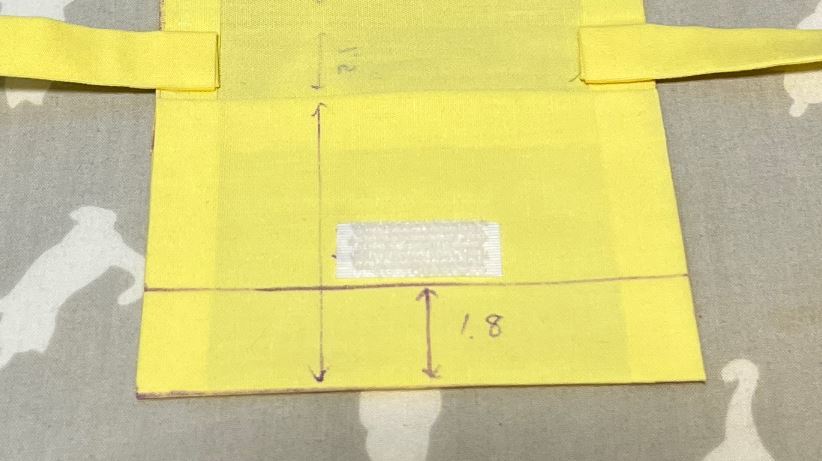
中央に接着します。
装飾する
フタの周囲に飾りを接着します。※省略可
※写真では平ゴムにしていますがフタが表に反ったので必ずサテンリボンにしてください。
まずフタの横に接着します。
続いてフタの尖端に接着します。
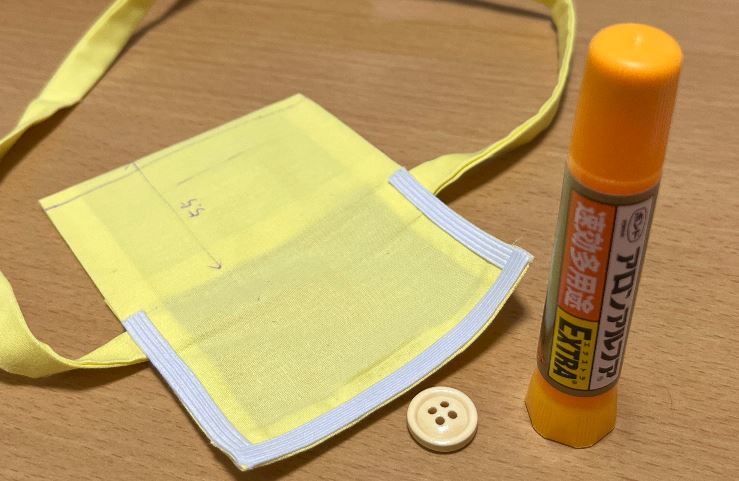
最後に飾りボタンを取り付けます。※省略可
アロンアルファでもいいですが、
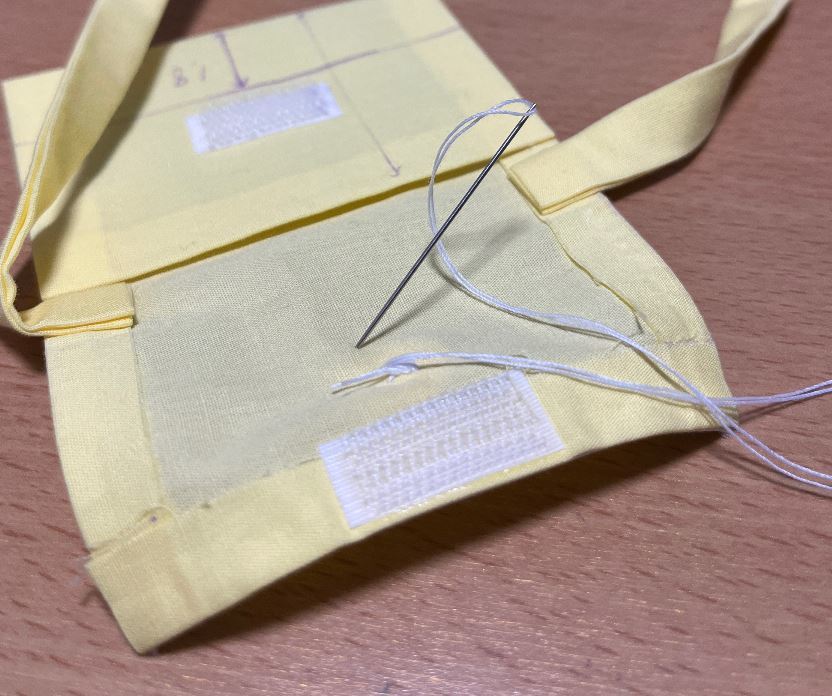
失敗してずれたら怖いので手縫いにしました。
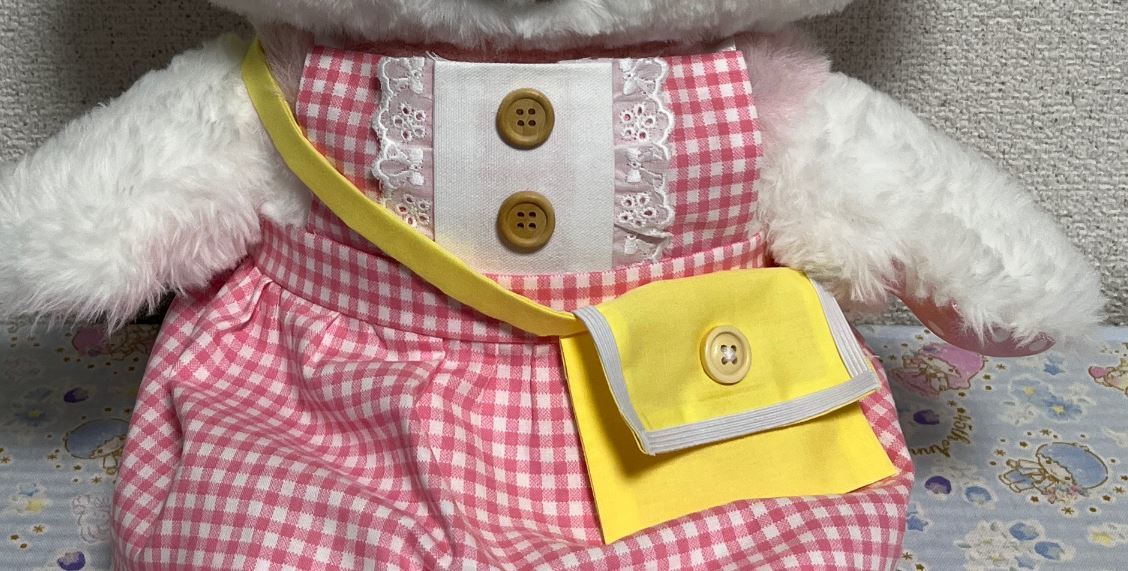
完成!!
完成です。
やはり通常のポシェットと異なり立体感が薄れますが、ないよりマシです。
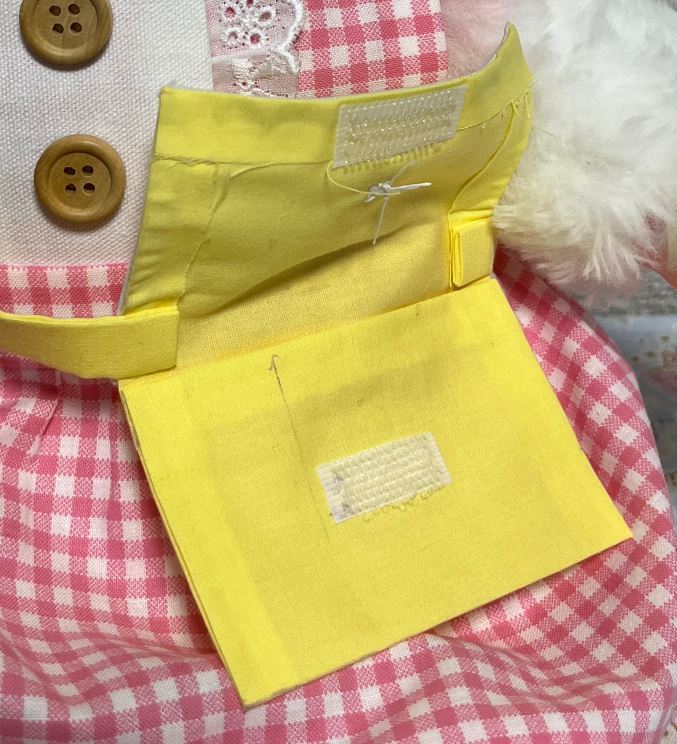
マジックテープ開閉します。
開けることはないと思いますが…
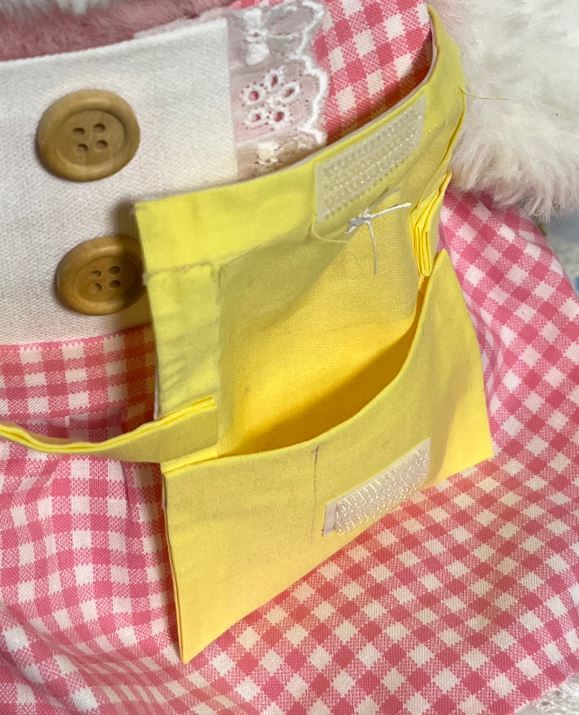
一応、物が入れられます。
後ろです。
長さを調節できるよう、マジックテープを多めに取り付けると安心ですね。
エプロンドレスと合わせてぜひ作ってみてください~
コメント