直線縫いだけで作れるのでとっても手軽です。
※リボンは撮影用に乗せているだけです。
コンテンツ
型紙
75cm x 12cm(縫い代込み)
生地を装飾する
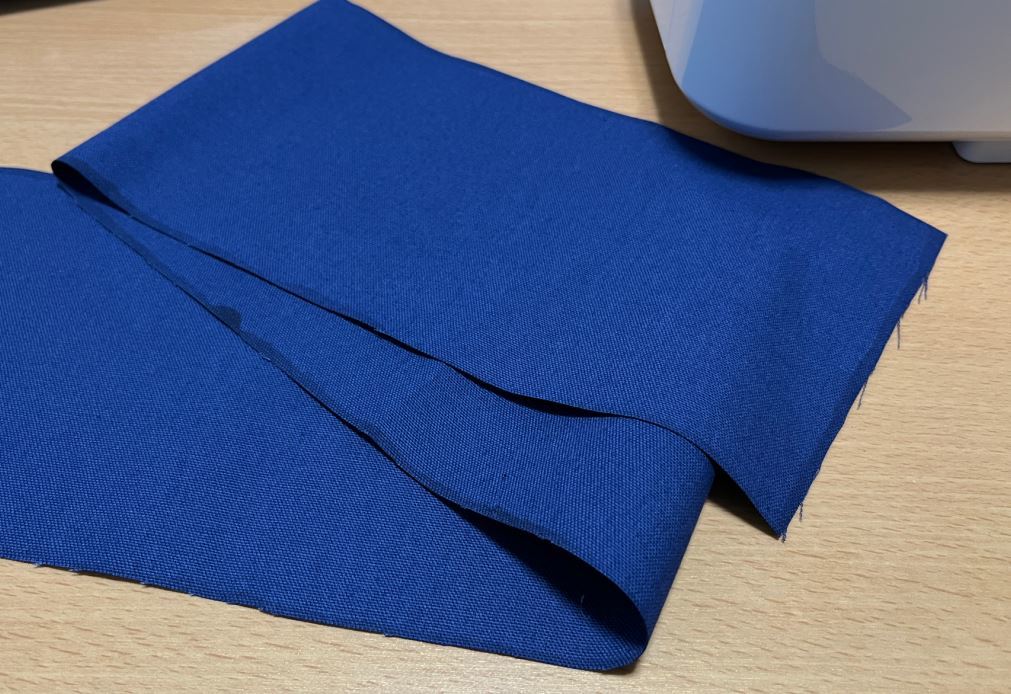
生地を裁断します。
ほつれ止めをする場合は全面に付けてください。
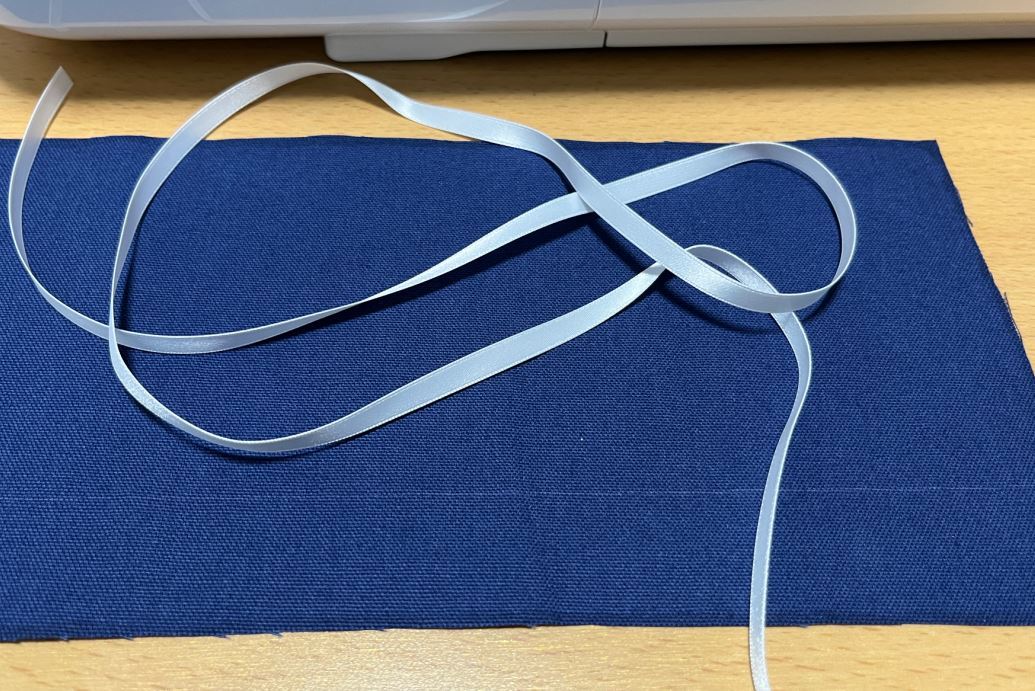
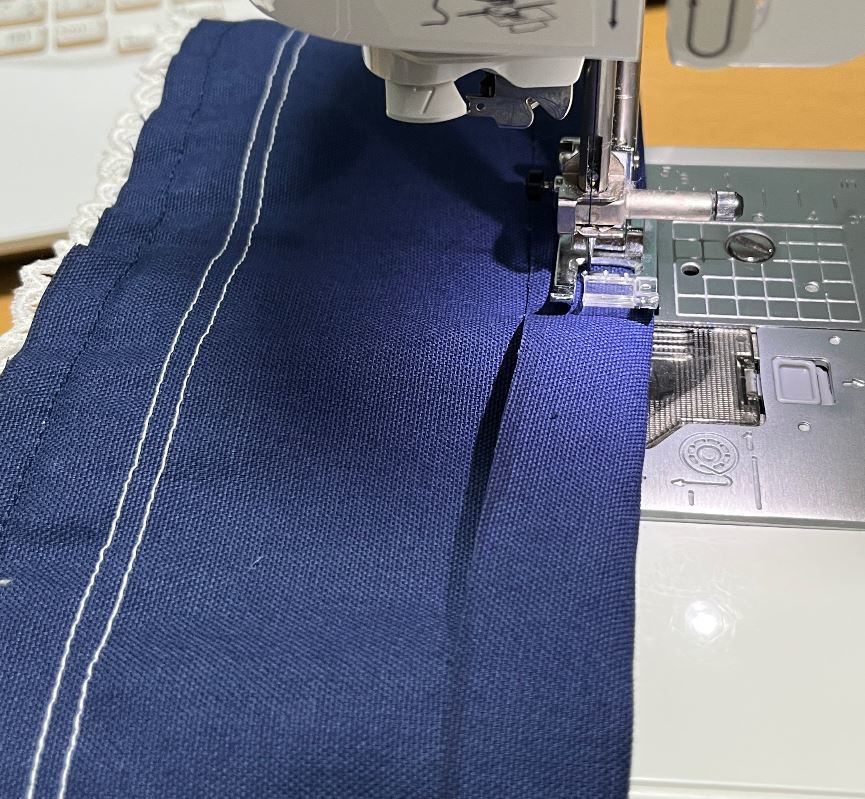
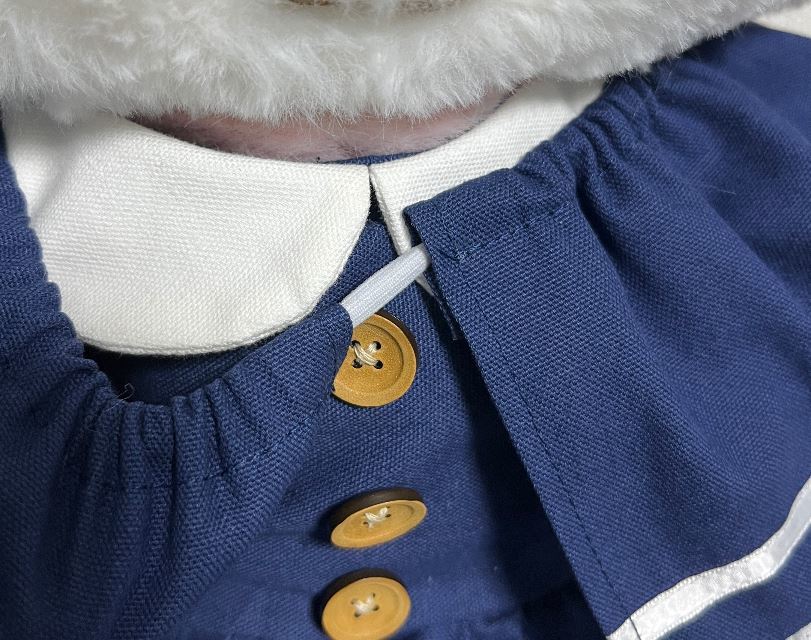
今回は装飾としてサテンリボンを縫い付けることにしました。
もちろん省略OKです。
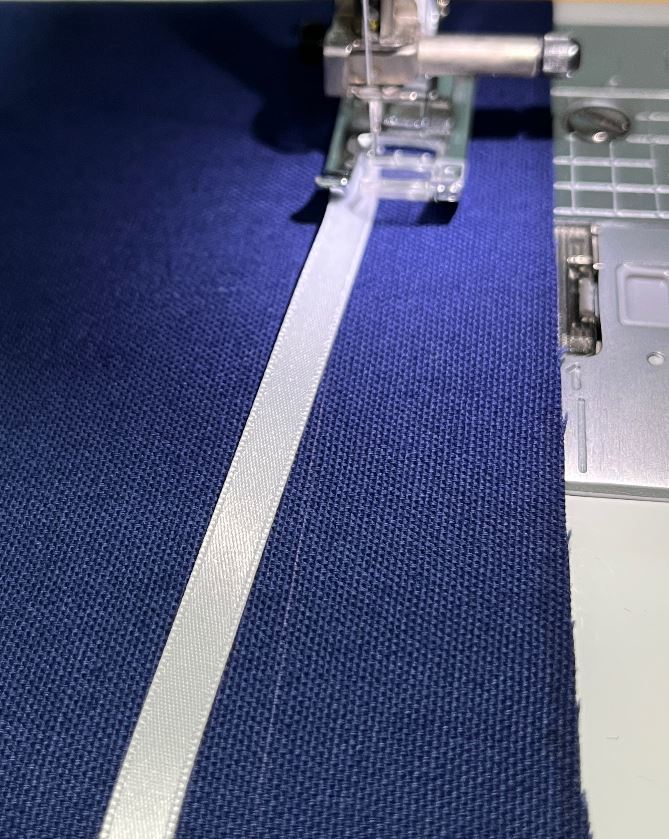
後の工程でレースを縫い付けて1cmで折り返すのを考慮した位置に縫い付けます。
ケープ両端の処理
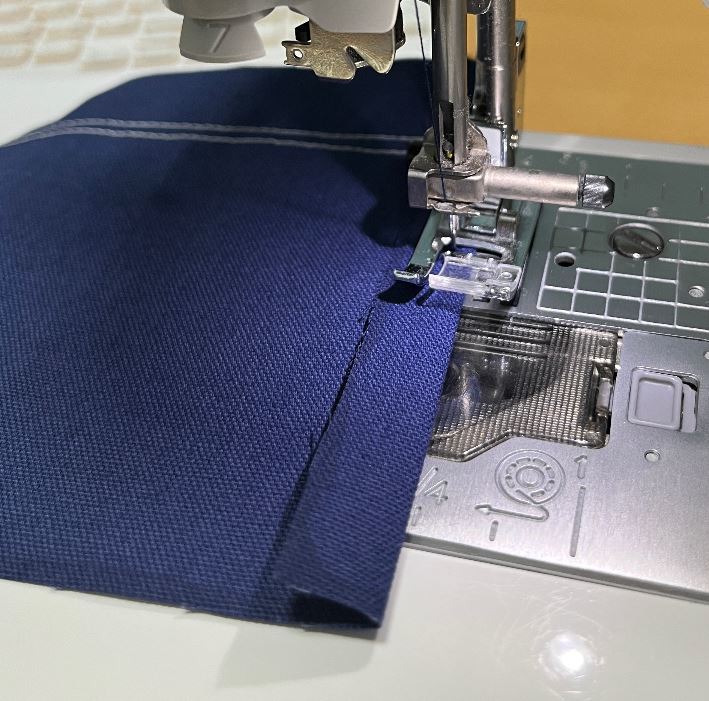
短辺を1cmで折り返して3mmでミシンを掛けます。
すそにレースを付ける
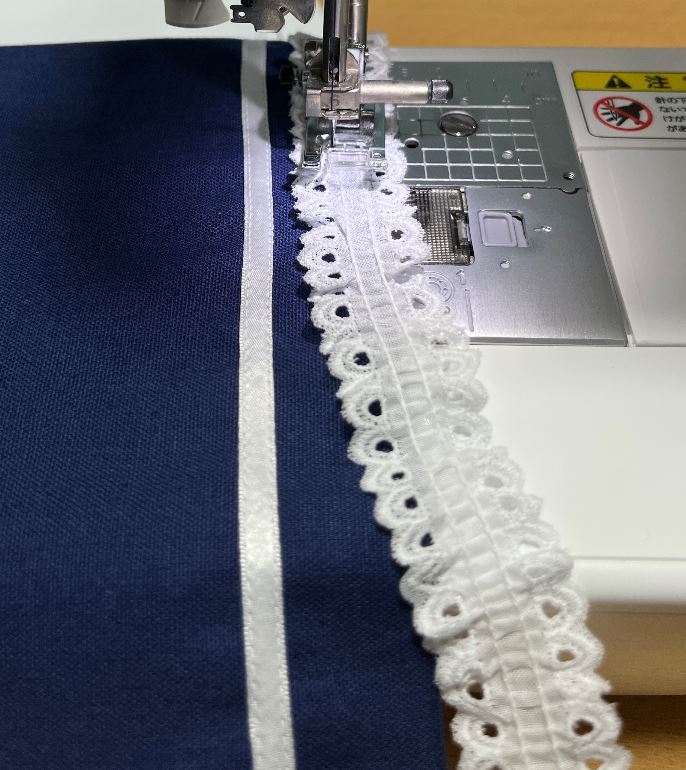
レースを中表にして、縫い代1cmでミシンを掛けます。
写真を撮り忘れましたが、レースを表に返して上からアイロンをしておきます。
レースがまだ落ち着かない場合は表からステッチを掛けておきます。
続いて、反対の面を2cmで折り目を付けます。
ゴム通し穴を作る
端から1cmでミシンを掛けます。
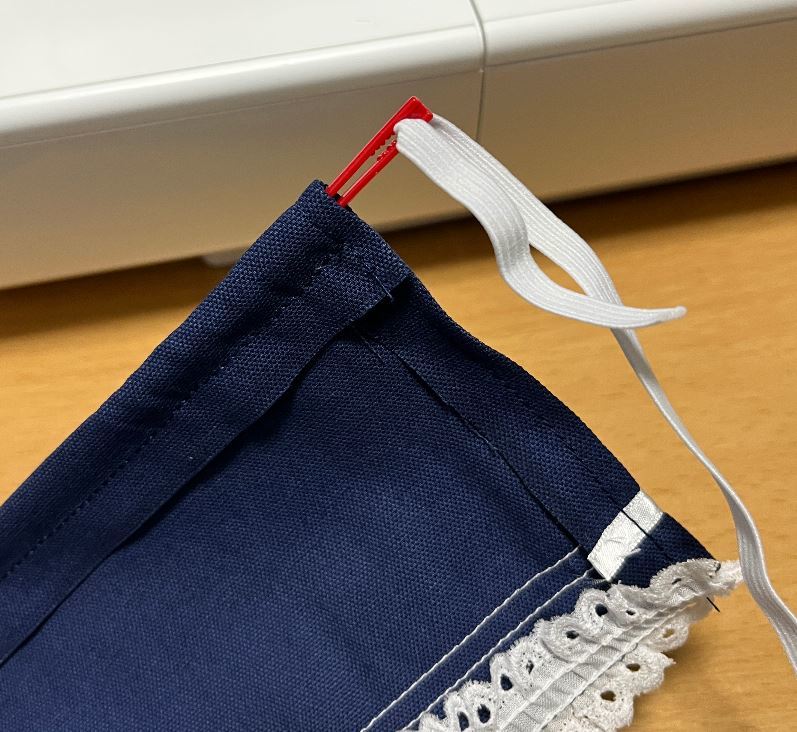
ゴムを通します。
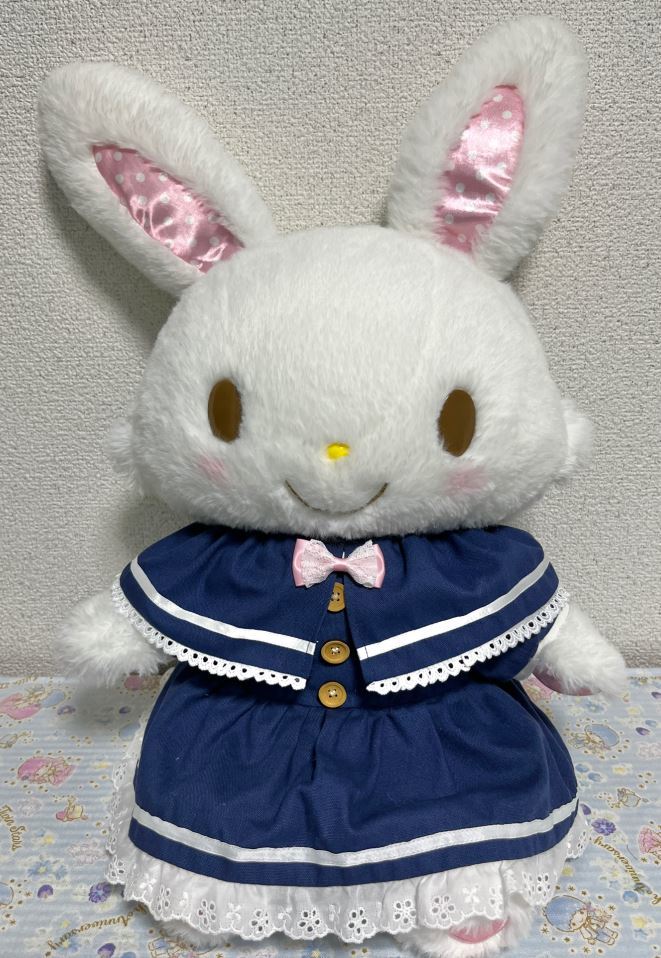
メルに着せてゴムのキツさ調節します。
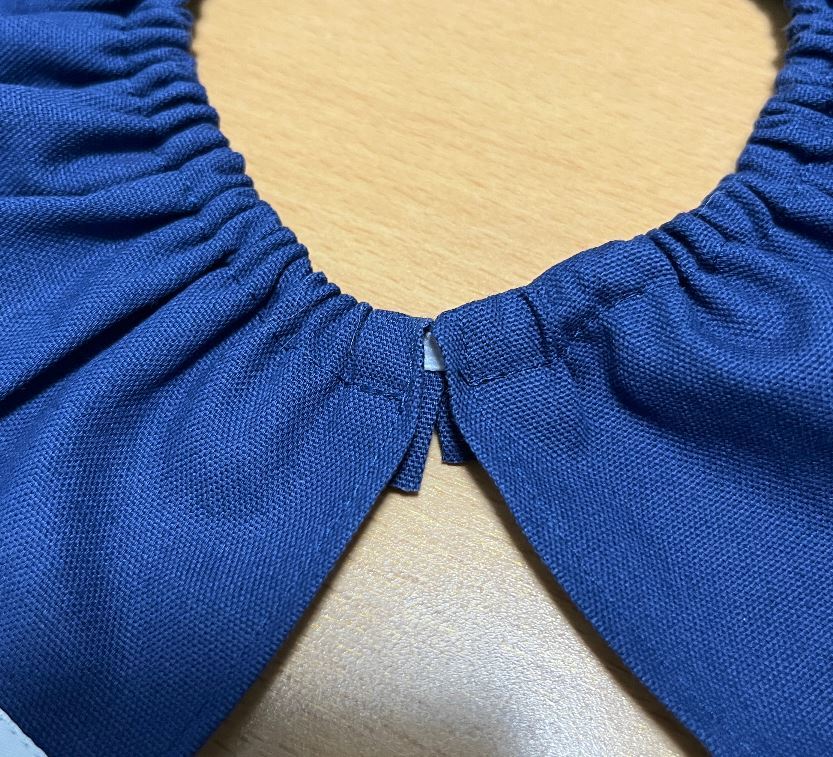
ゴムの結び目はゴム通し穴に隠しておきます。
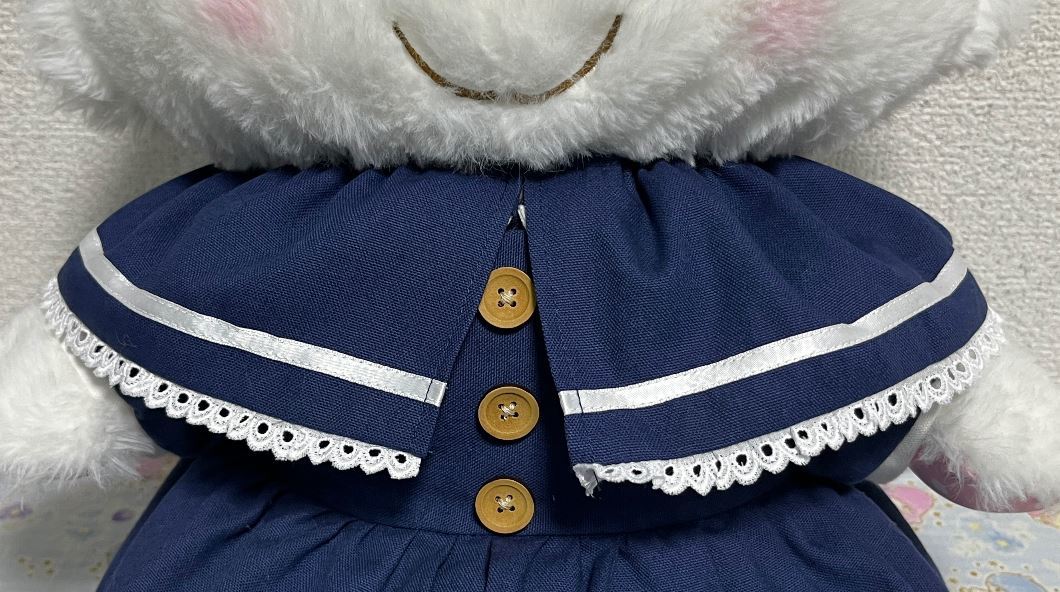
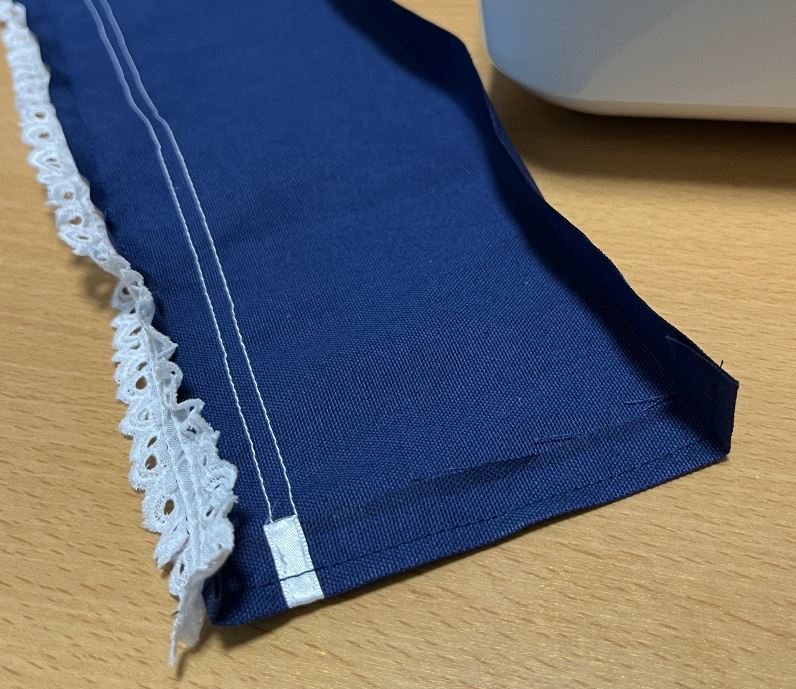
完成!!
気づいたら完成です。
リボンは撮影用に置いてあるだけです。
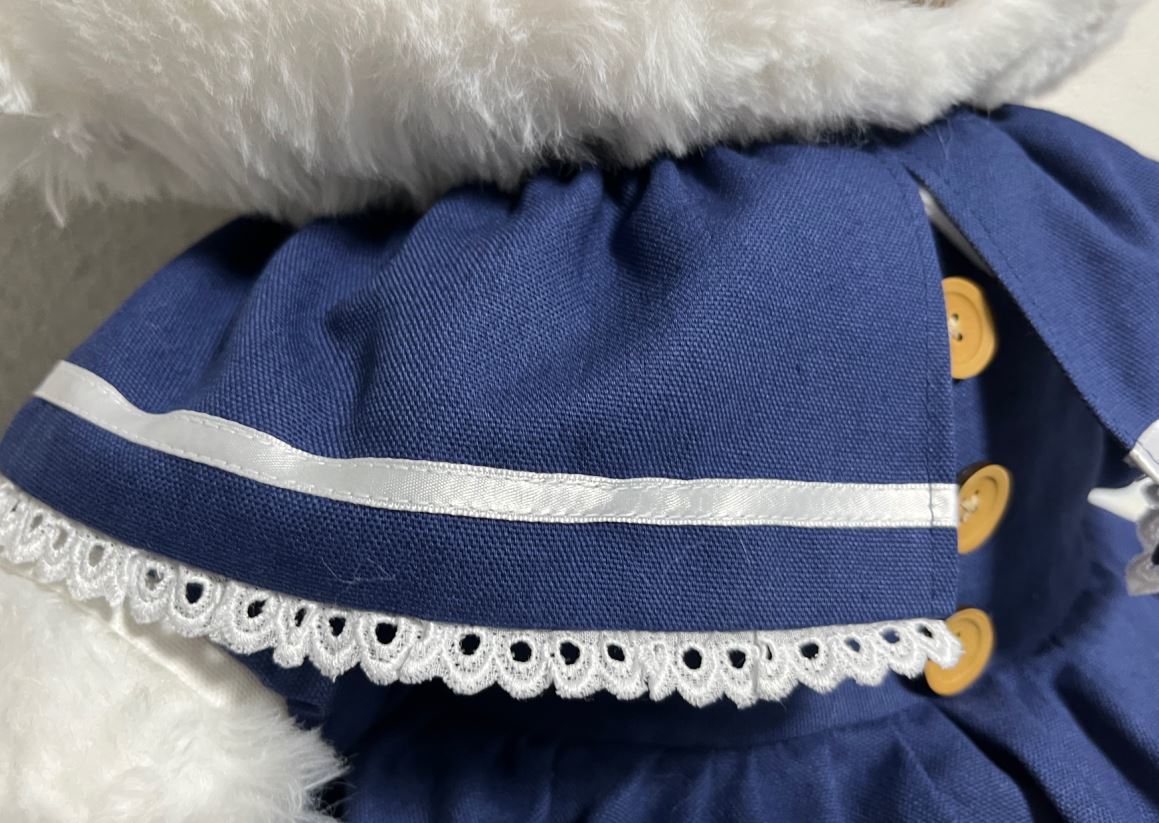
すそです。
レースの種類を変えると楽しめますね。
ゴムの結び目は隠しておきましょう。
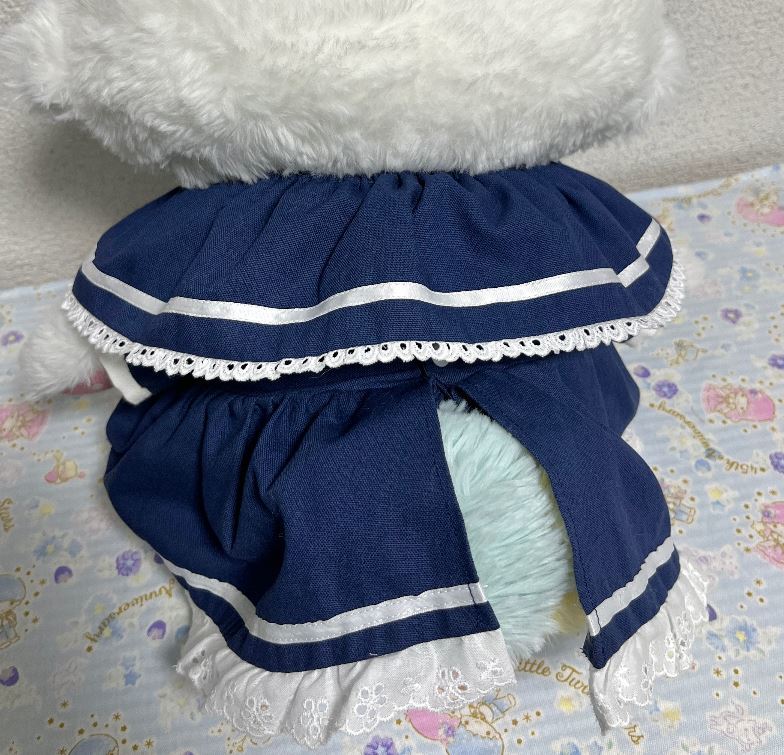
後ろです。
手軽な割にそれっぽくケープに見えますね。
すそにふわふわした布を付けたらサンタさんのケープみたいになりますね。
お好きな柄で作ってみて下さい~
コメント